The Super Nintendo RetroPie Casemod
August 17, 2020
Ok, this is a project that probably has been done many times already, but I needed to do this to resolve a little childhood trauma. I had a Game Boy but my parents never allowed me to have a Super Nintendo. I guess that is what you get when you spend too much time with your handheld console but not enough time with your homework.
Anyway, here is my attempt of creating a “console” that surpasses the original in many ways.
Buying the Super Nintendo
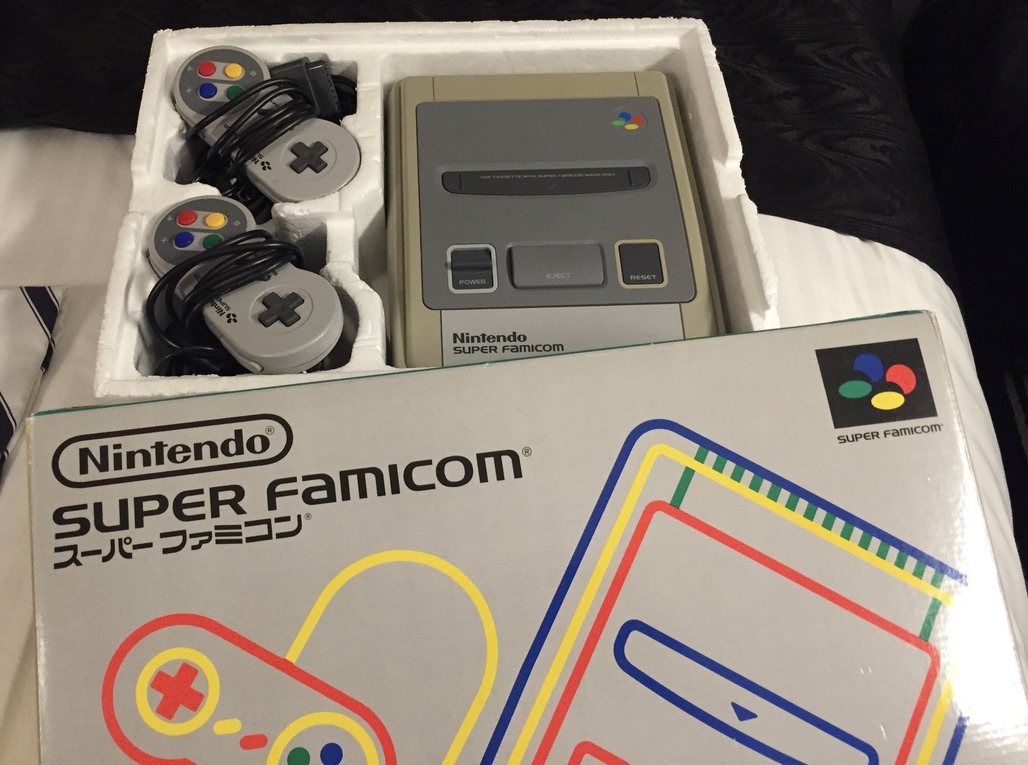
The other day I was on holiday in Otaru, Hokkaido. Some Obasan (middle aged lady) along the way was having a garage sale. And there it was: The original Super Famicon (Japanese Super Nintendo) from 1990. It just costed me 1000 Yen (less than 10$)!
The Obasan was really surprised that I wanted to buy it and was thanking me repeatedly after I handed over the 1000 Yen bill. On the downside, I had to carry it with me for the whole remaining day. But thats a small price to pay for the “awesome” that is going to follow.
Replacing the inside
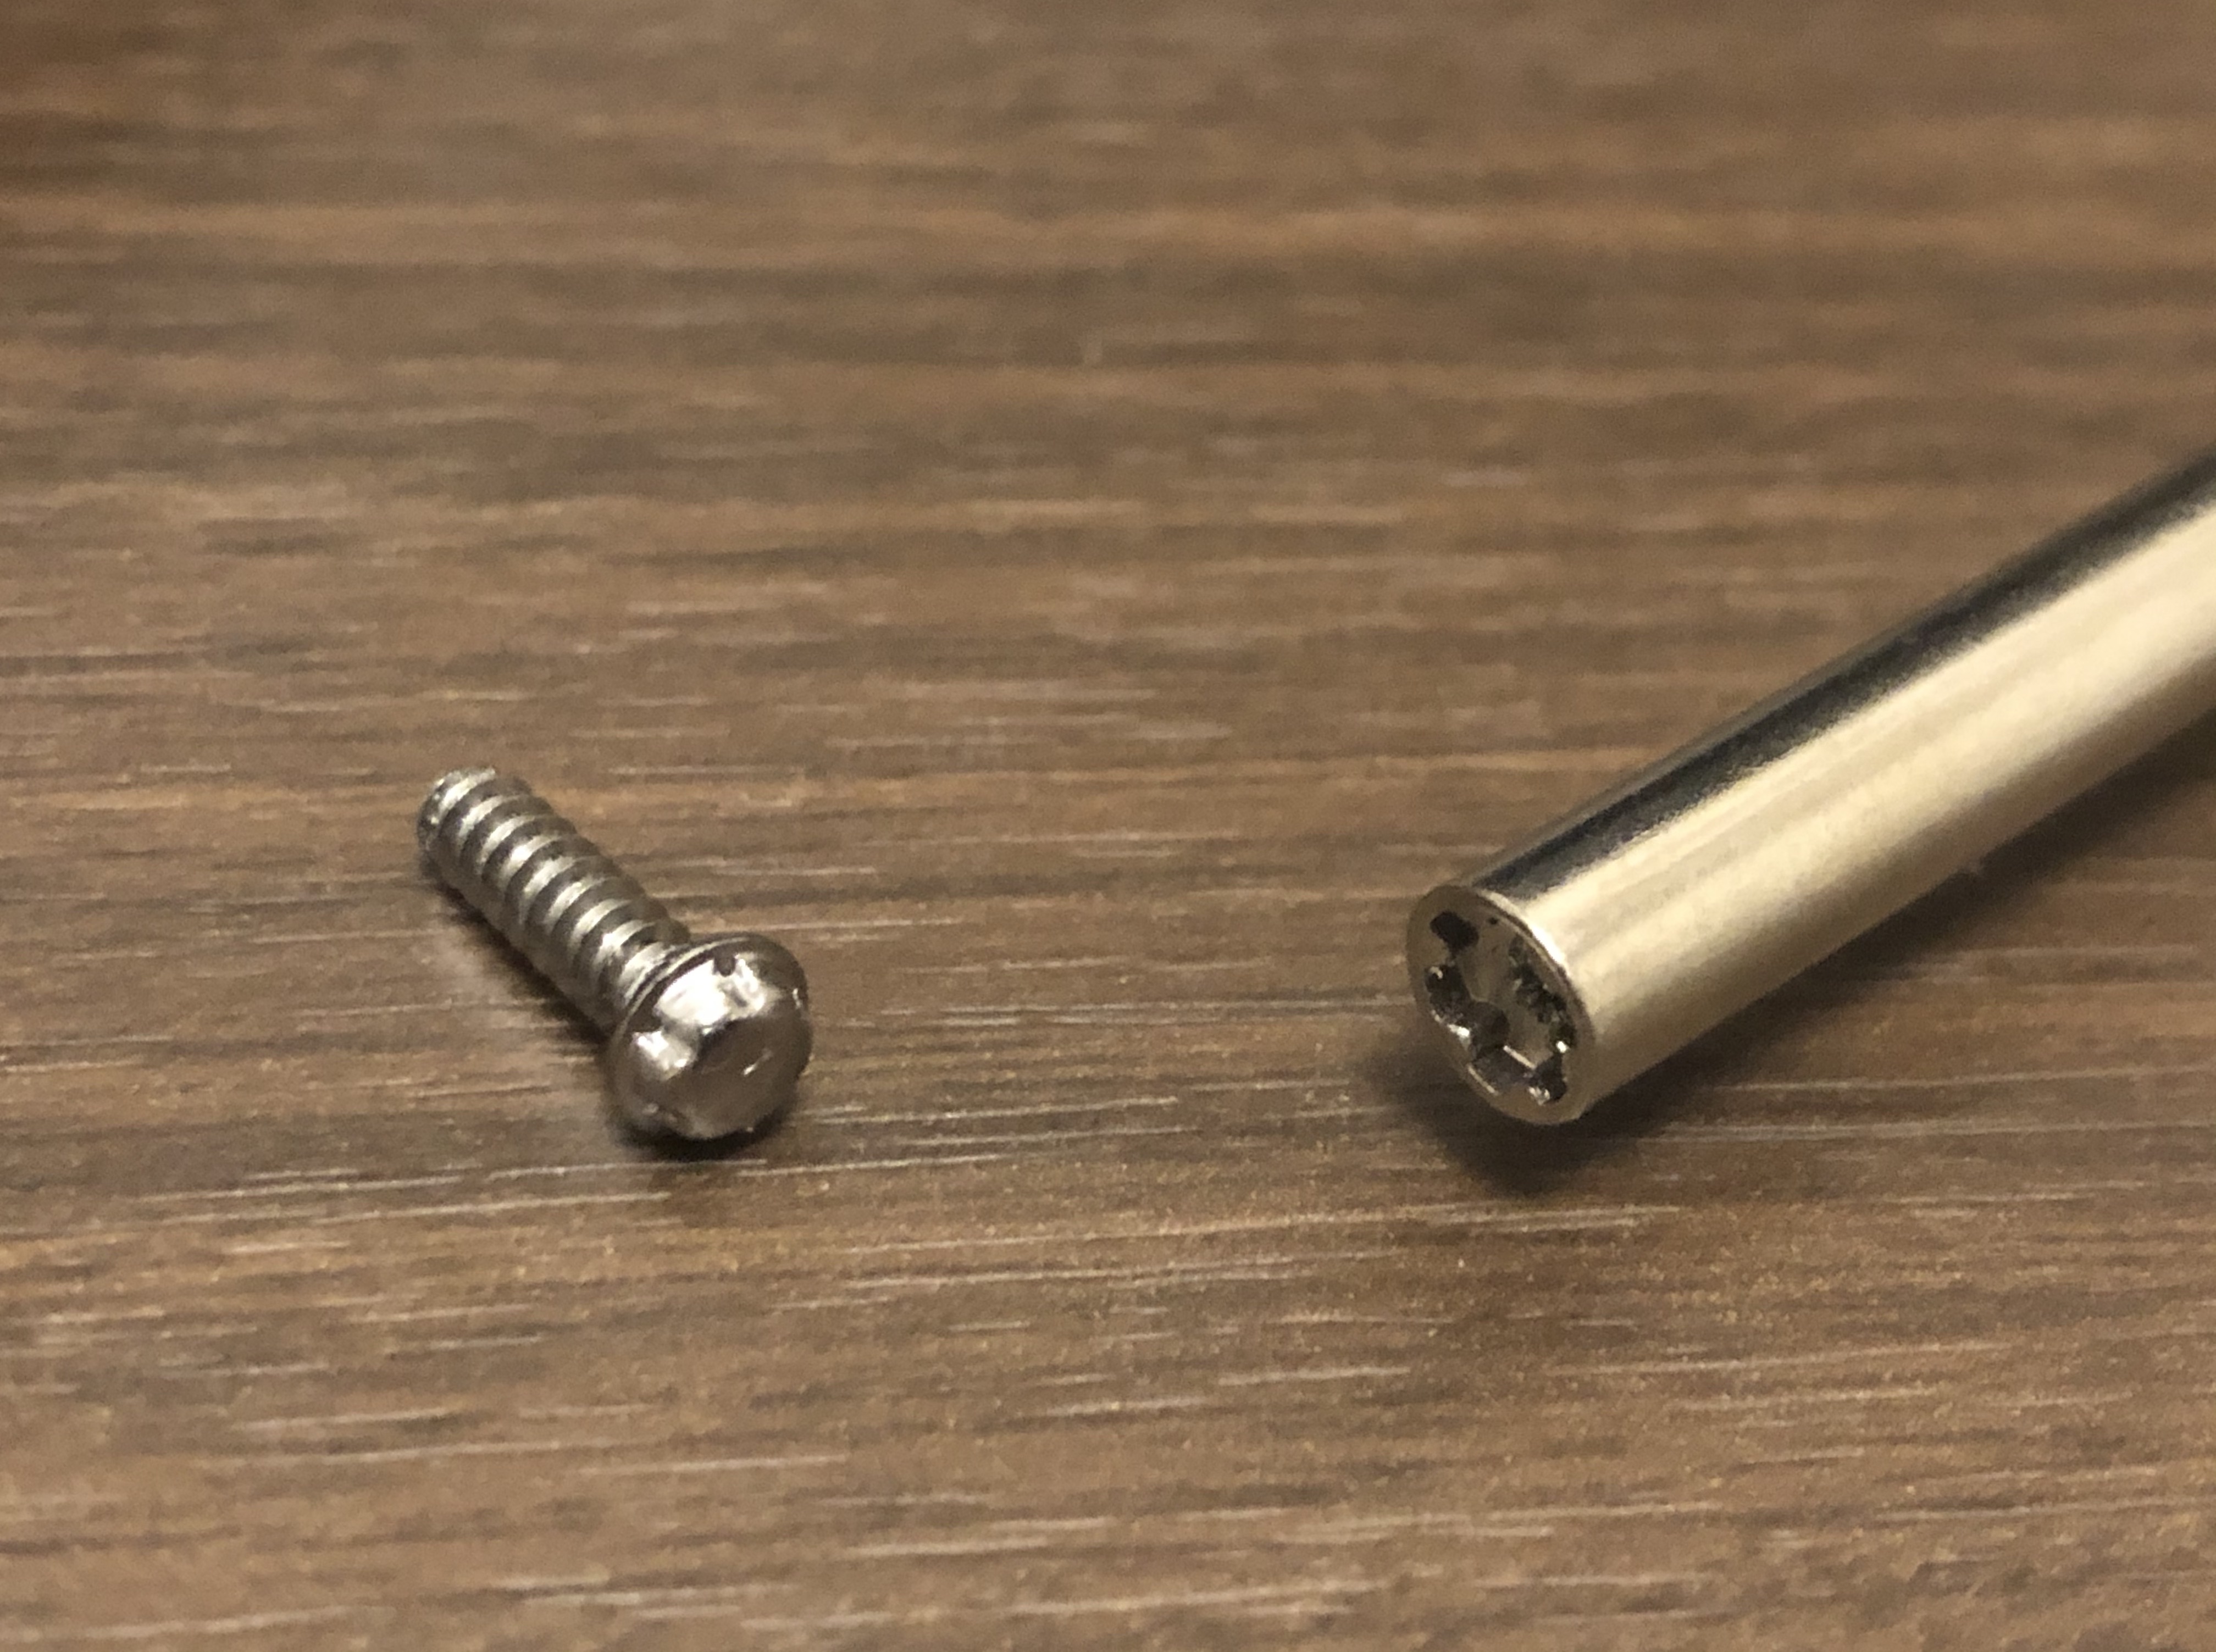
The Super Nintendo uses its own kind of screws and I had to buy a special screw driver just to be able to open up the case. Luckily it was bit cheaper on Japanese Amazon (3-4$).
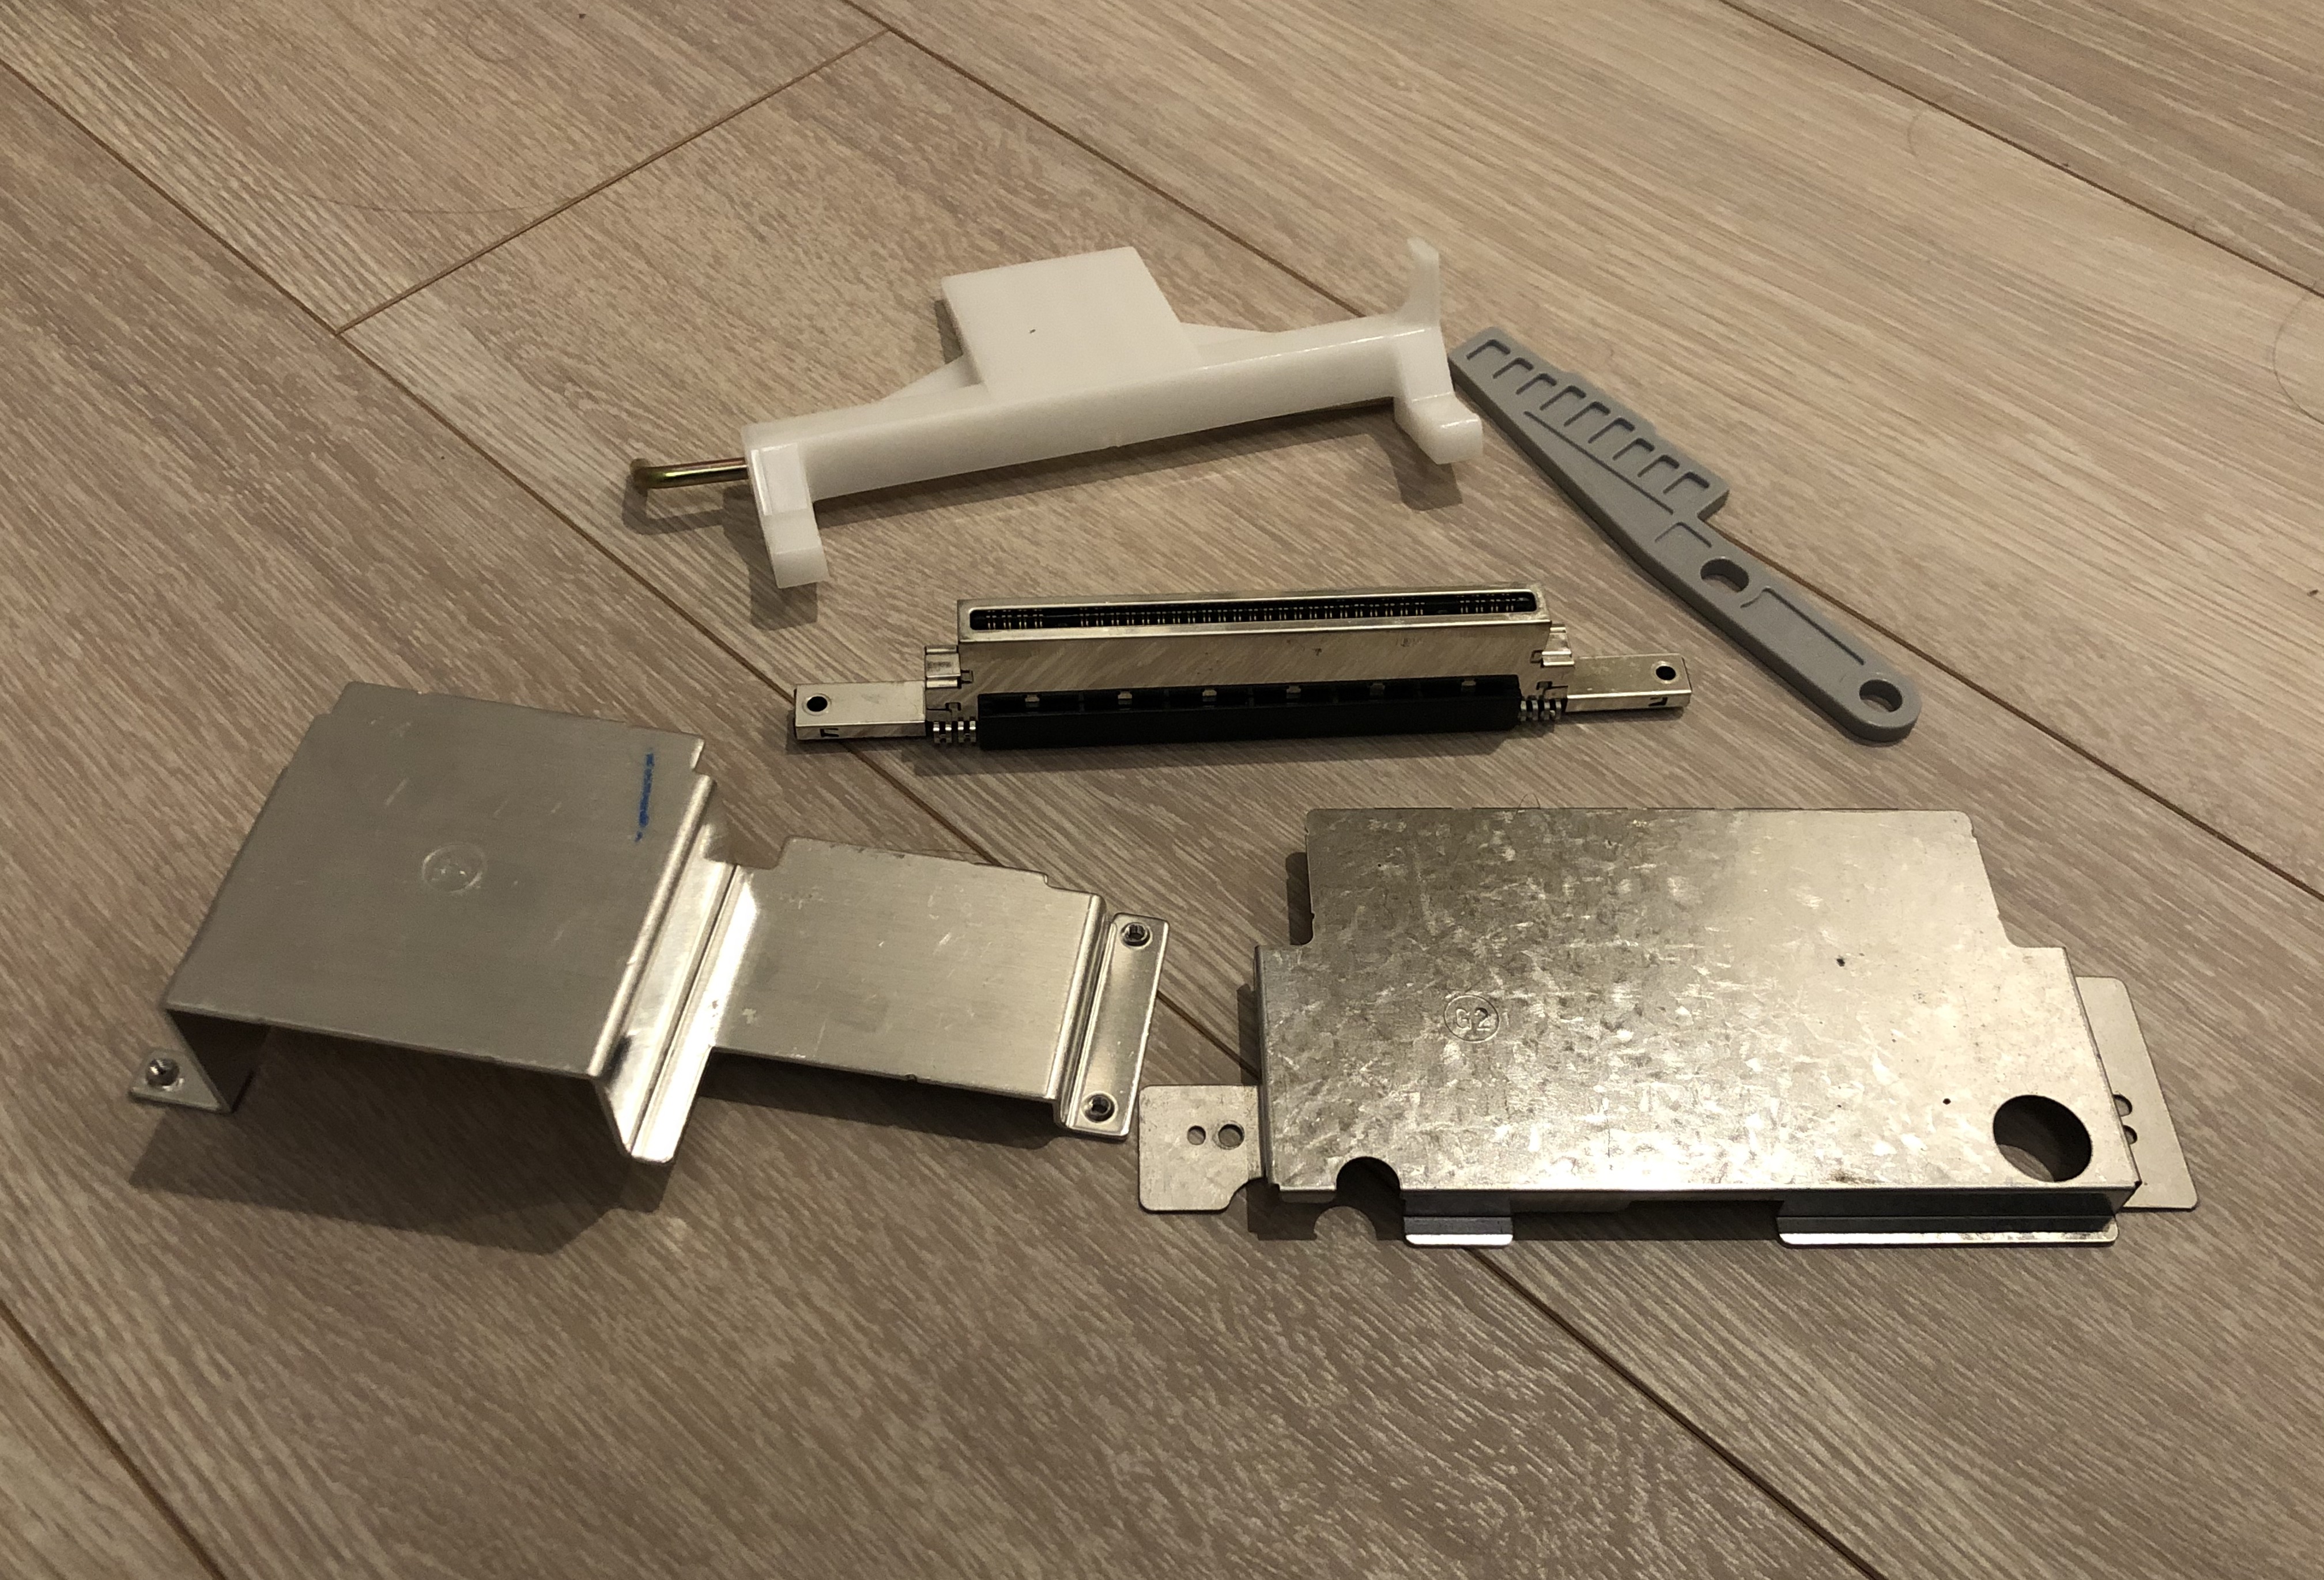
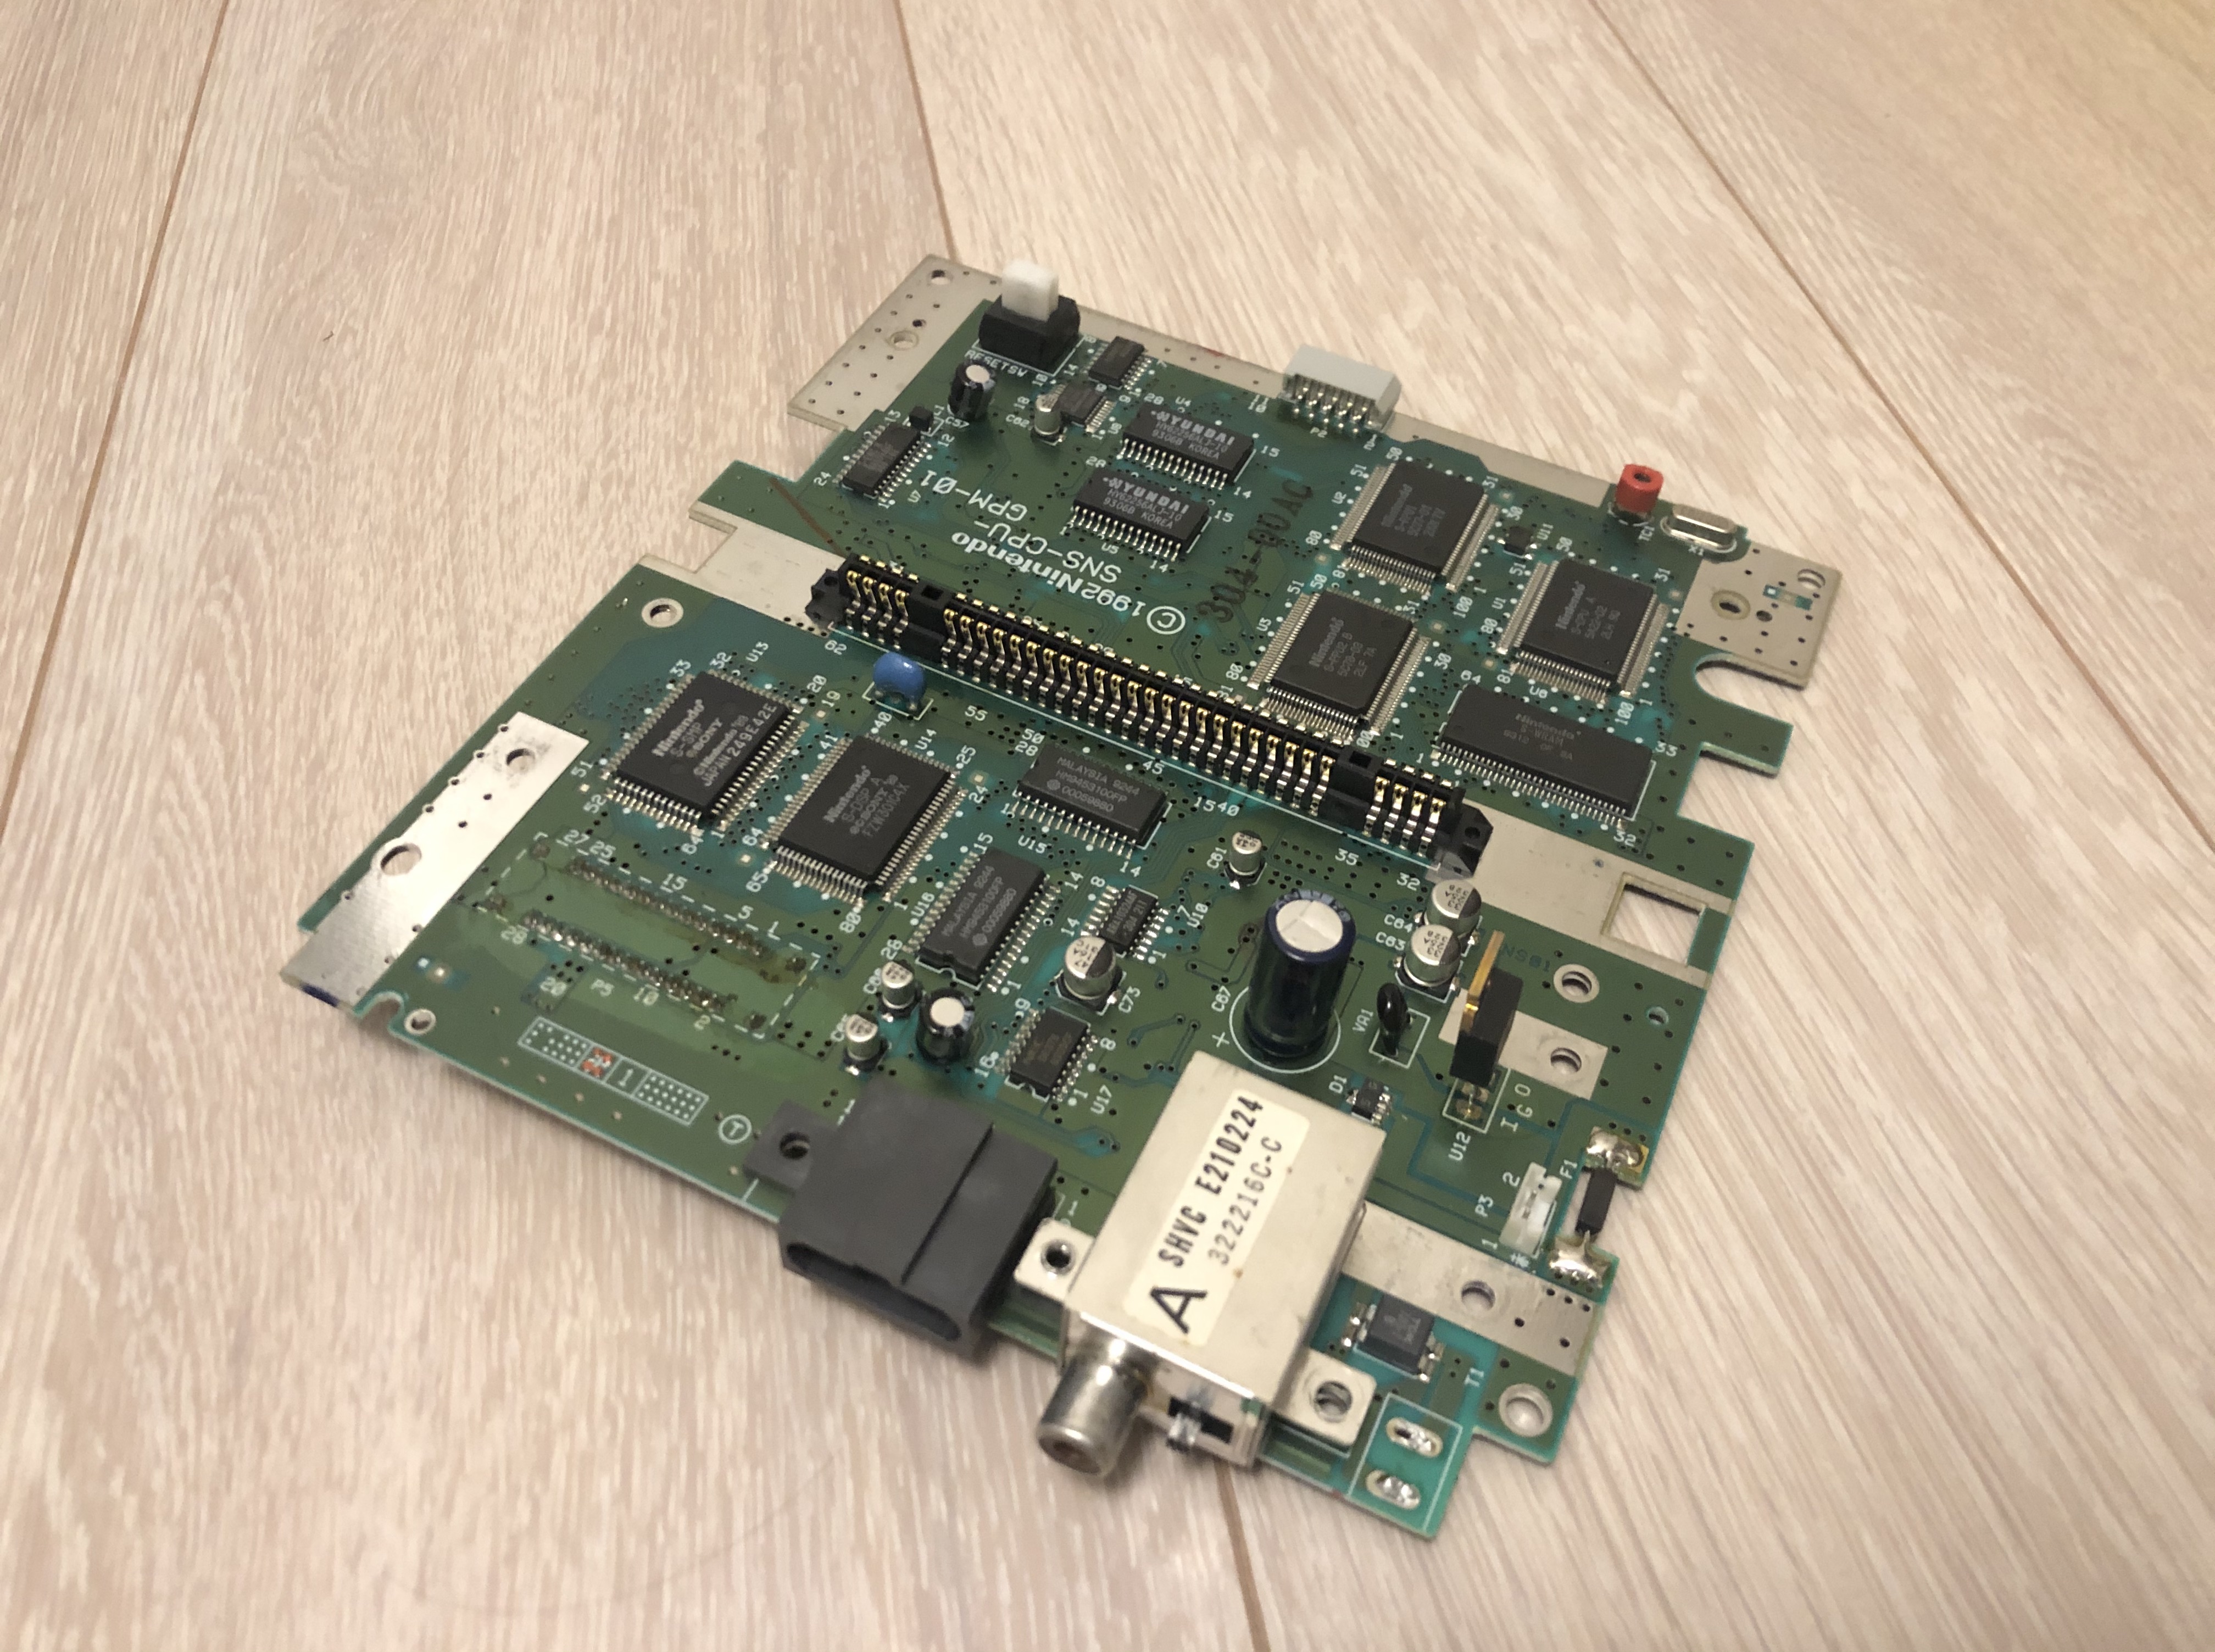
Back then, electronics were quite huge. Opening up and disassembling the parts went rather smoothly.
Let’s see what we have:
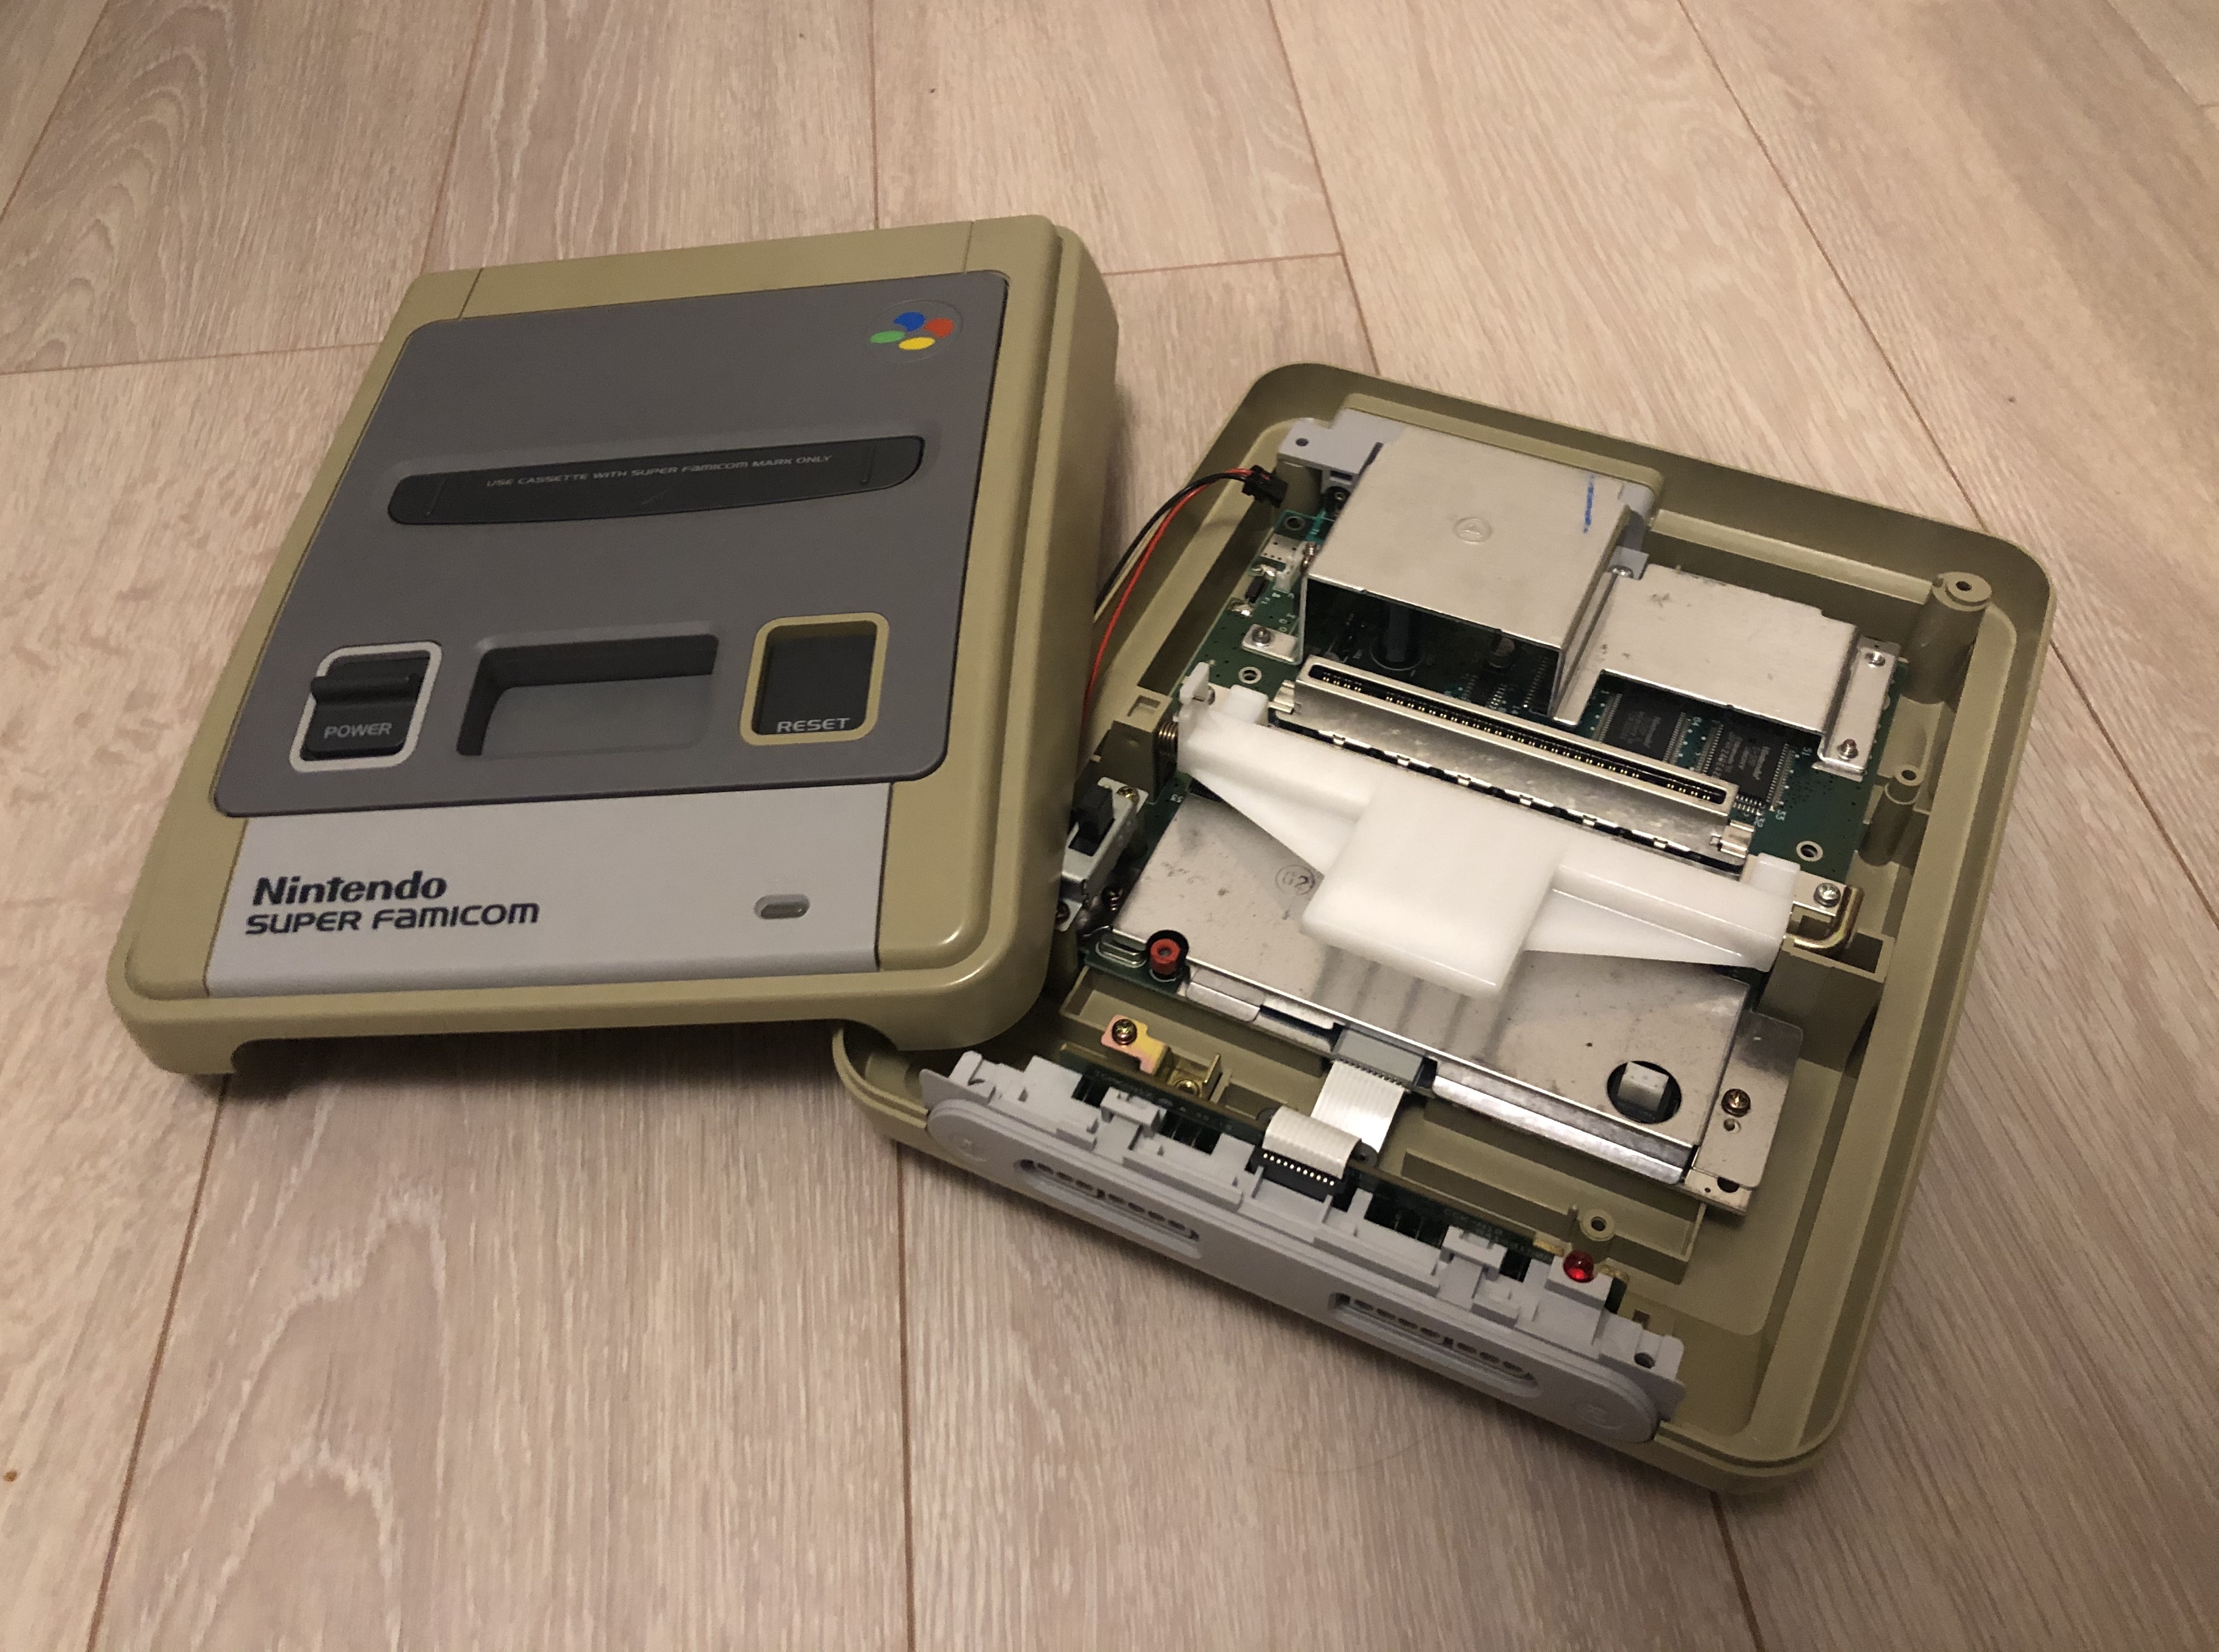
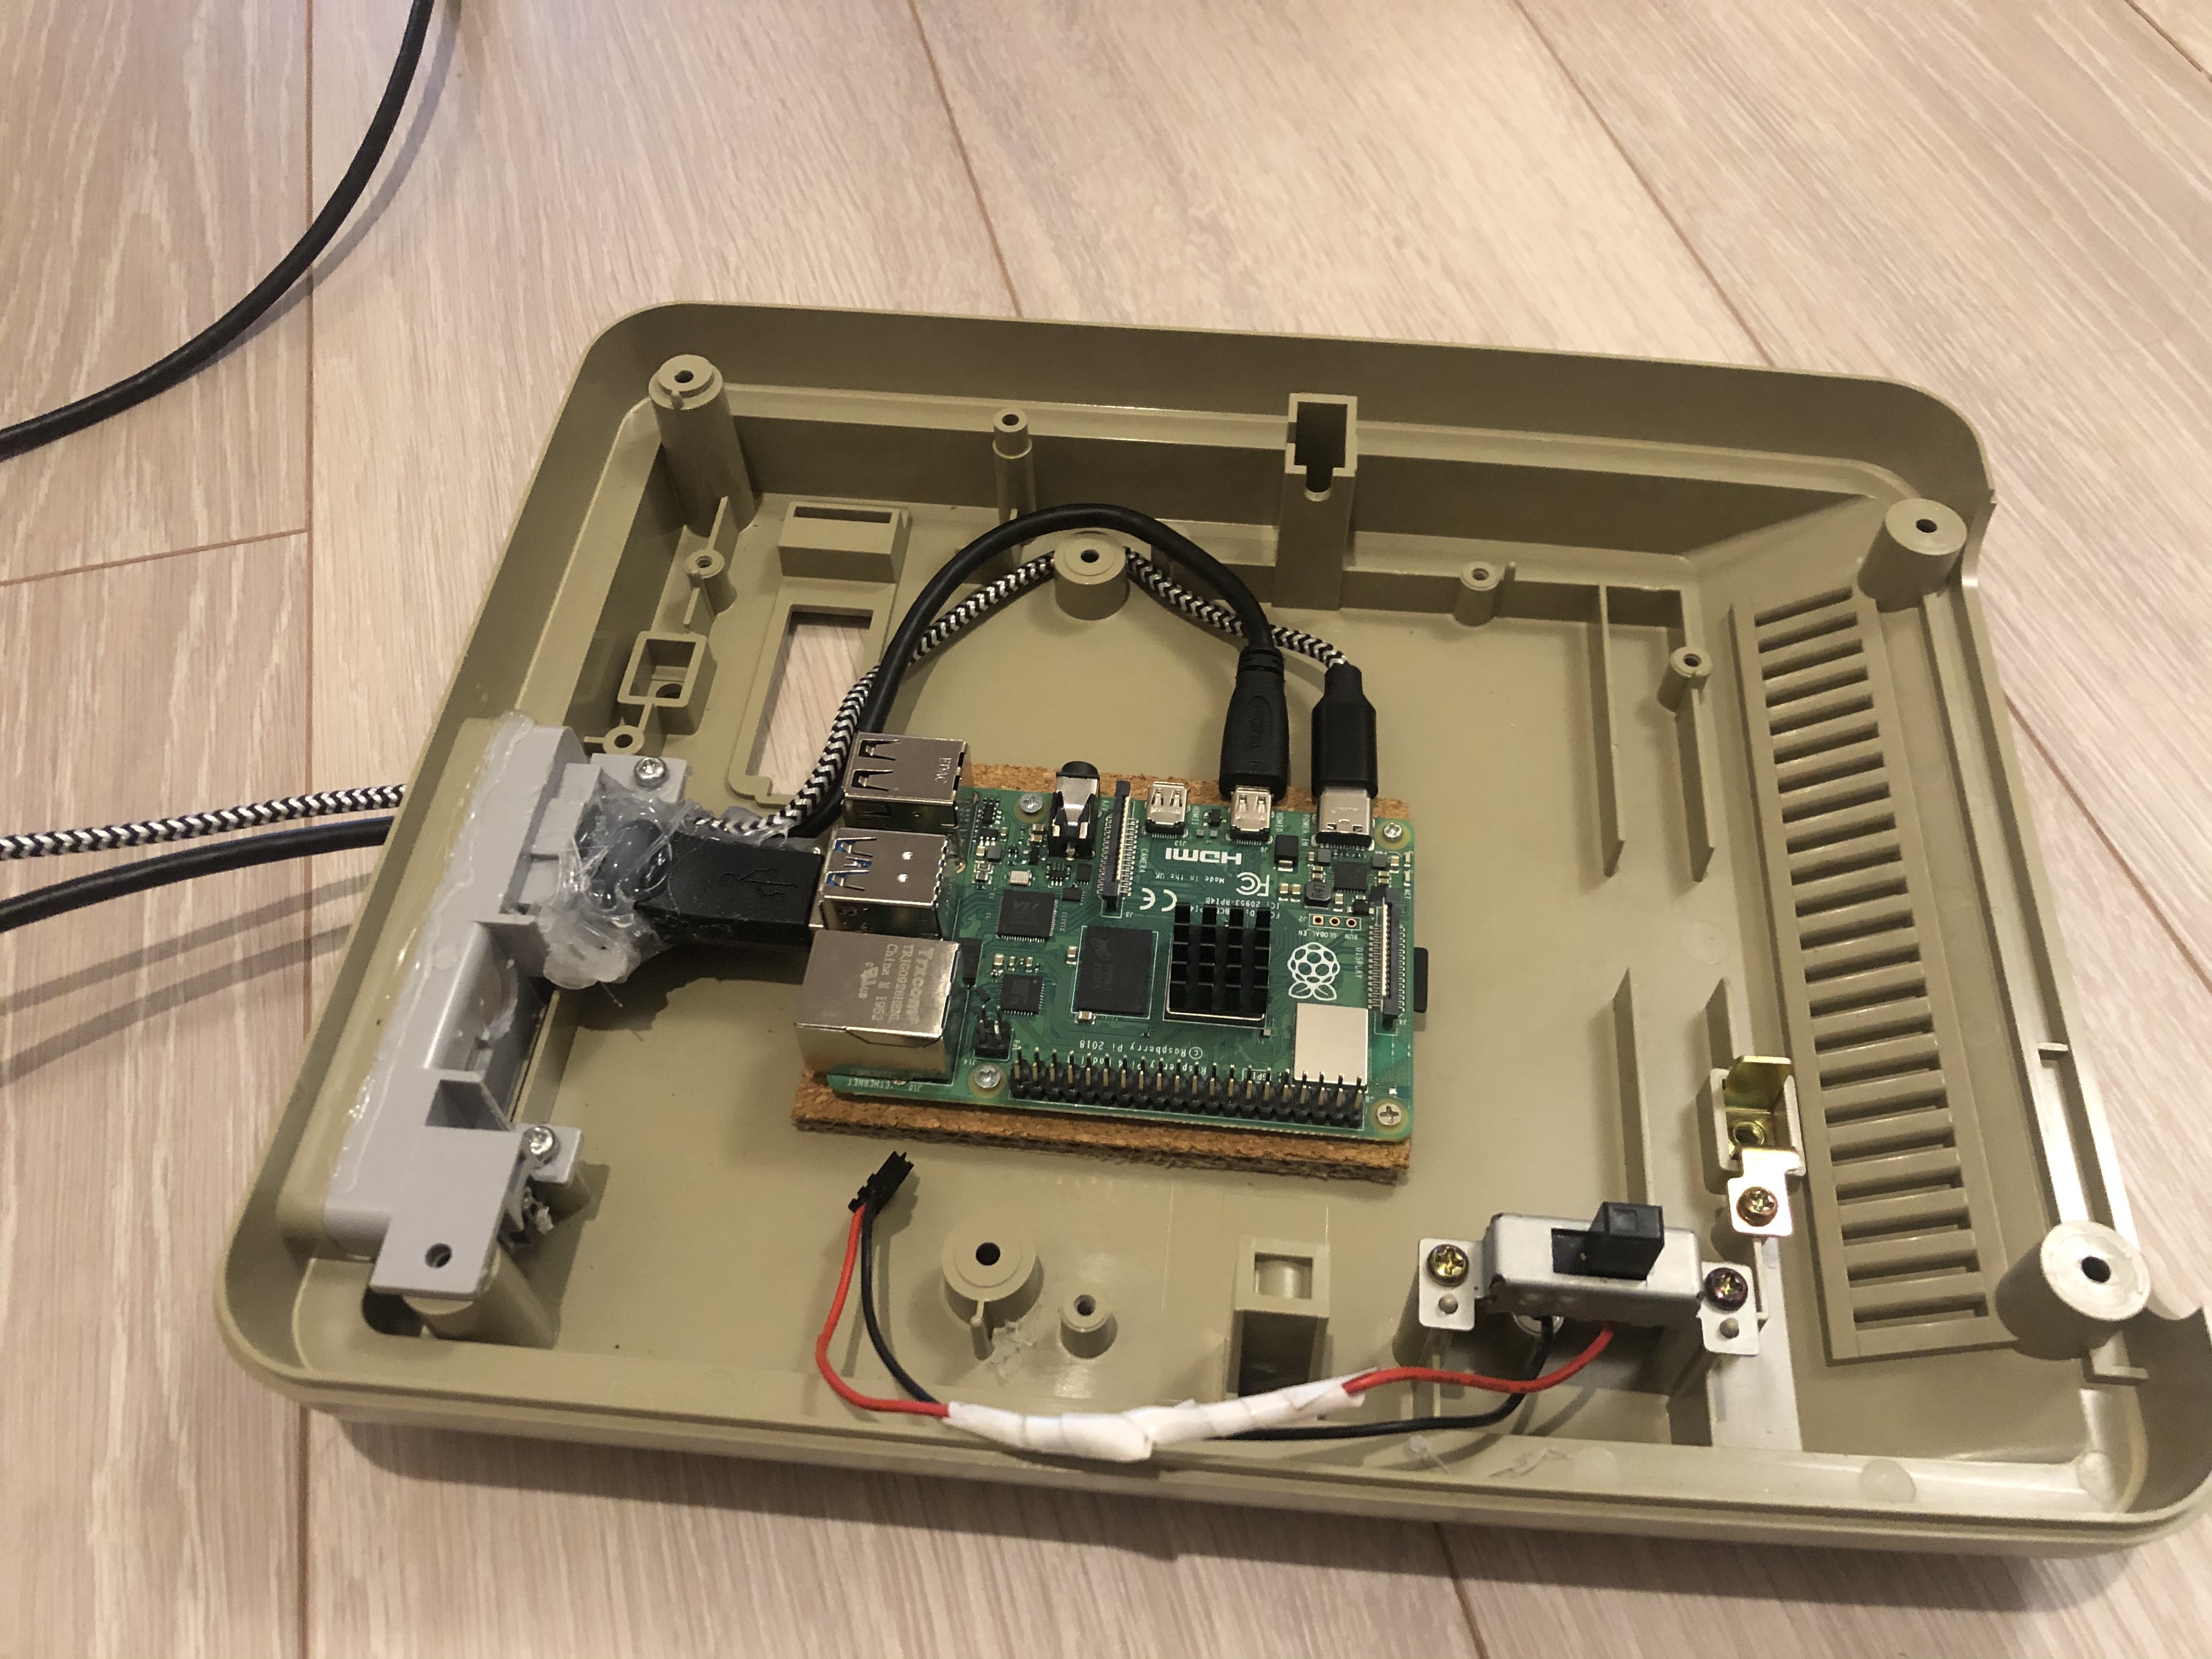
To replace most of these parts, I bought a Raspberry Pi 4. Choosing the Raspberry Pi (again) for this project is really a no brainer. It is reasonably cheap and the available resources and software on the internet are endless.
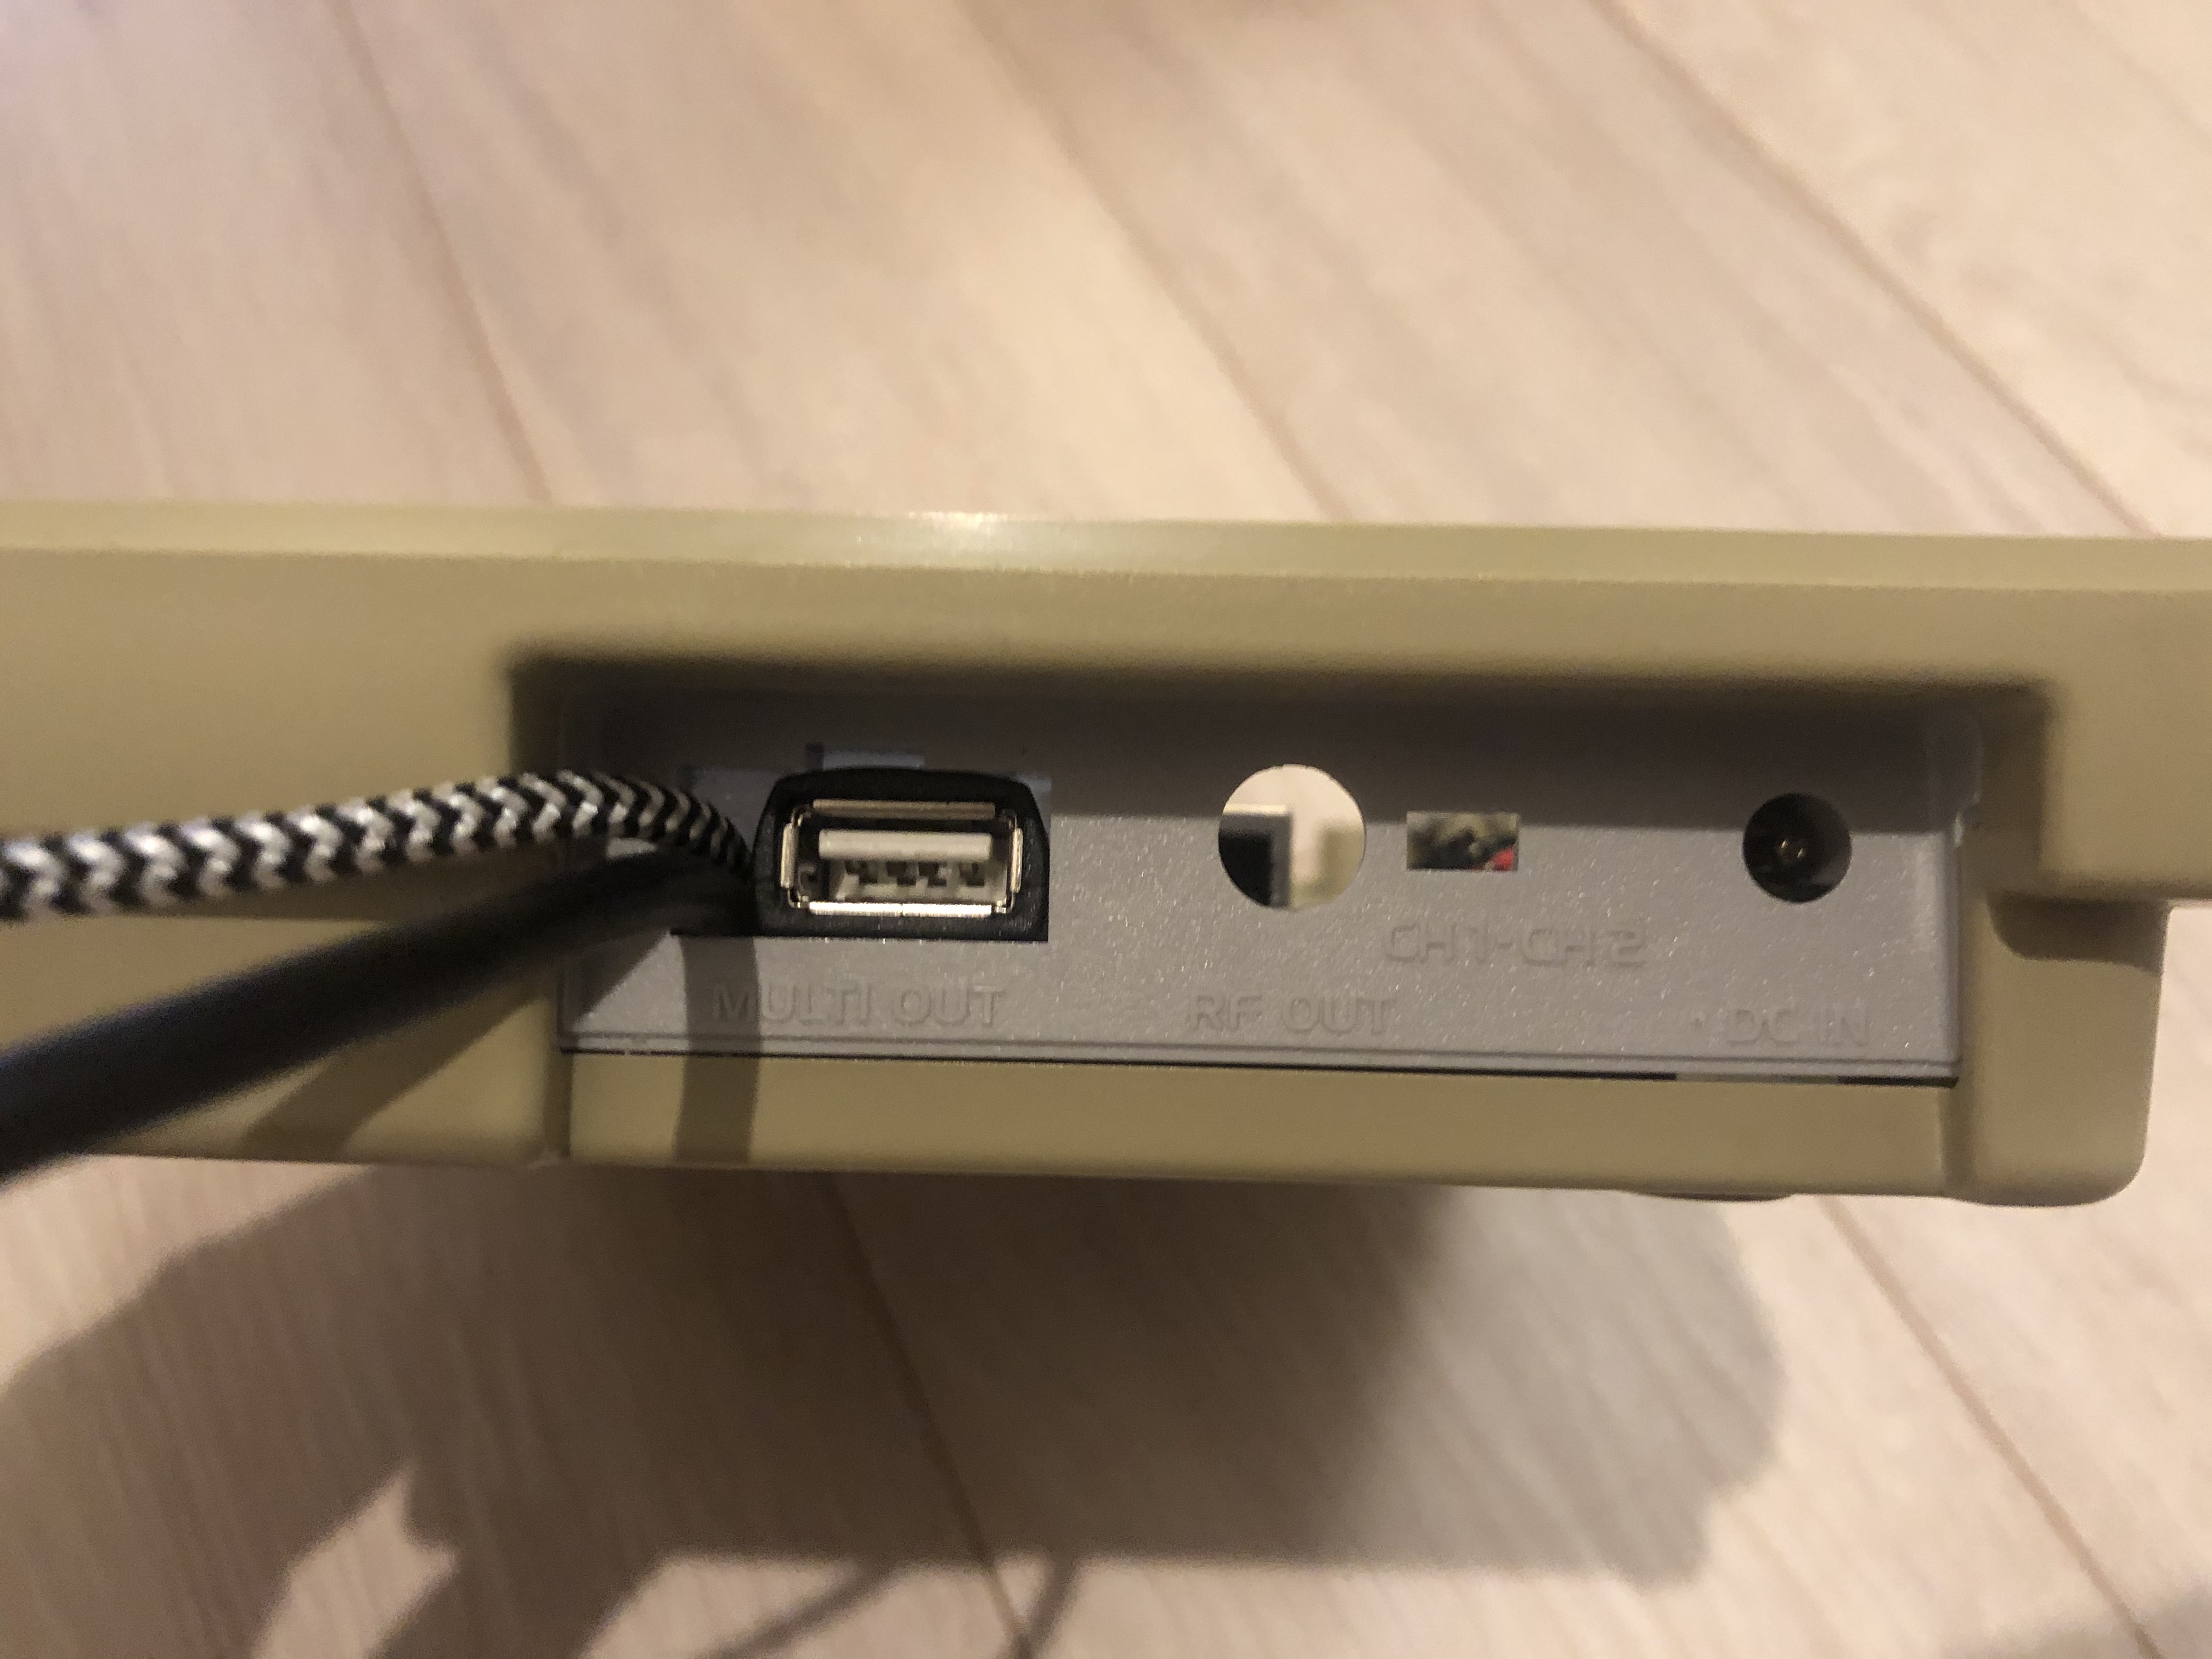
To keep things simple and reduce connectors, I opted for cables directly coming out of the Super Nintendos case. I use an USB-C cable for power and an HDMI cable for Video and Audio.
As a convenient extra, I also exposed an USB port with a rather strange extension plug that I had lying around. I have no idea where I got that from but it fitted perfectly into the hole for the original A/V connector.
Using Buttons
The Super Nintendo has 3 buttons at the front. Power, reset and the cartrige eject button.
Ejecting the cartrige from the Super Nintendo is solved purely mechanical with the big white plastic I took out earlier. Since I do not have any need for game cartriges, I simply got rid of all these parts and glued the eject button from the inside, so it doesn’t hang loose.
The power as well as the reset button are simple switches as you can get them in any electronics store. The power button is a toggle switch while the reset button is a momentary switch. These can be connected to the Raspberry Pi’s GPIO. This is basically the simplest thing that you can connect to the Pi and there are tons of tutorials out there on how to do that. After connecting the switches, their state can be read by the Pi.
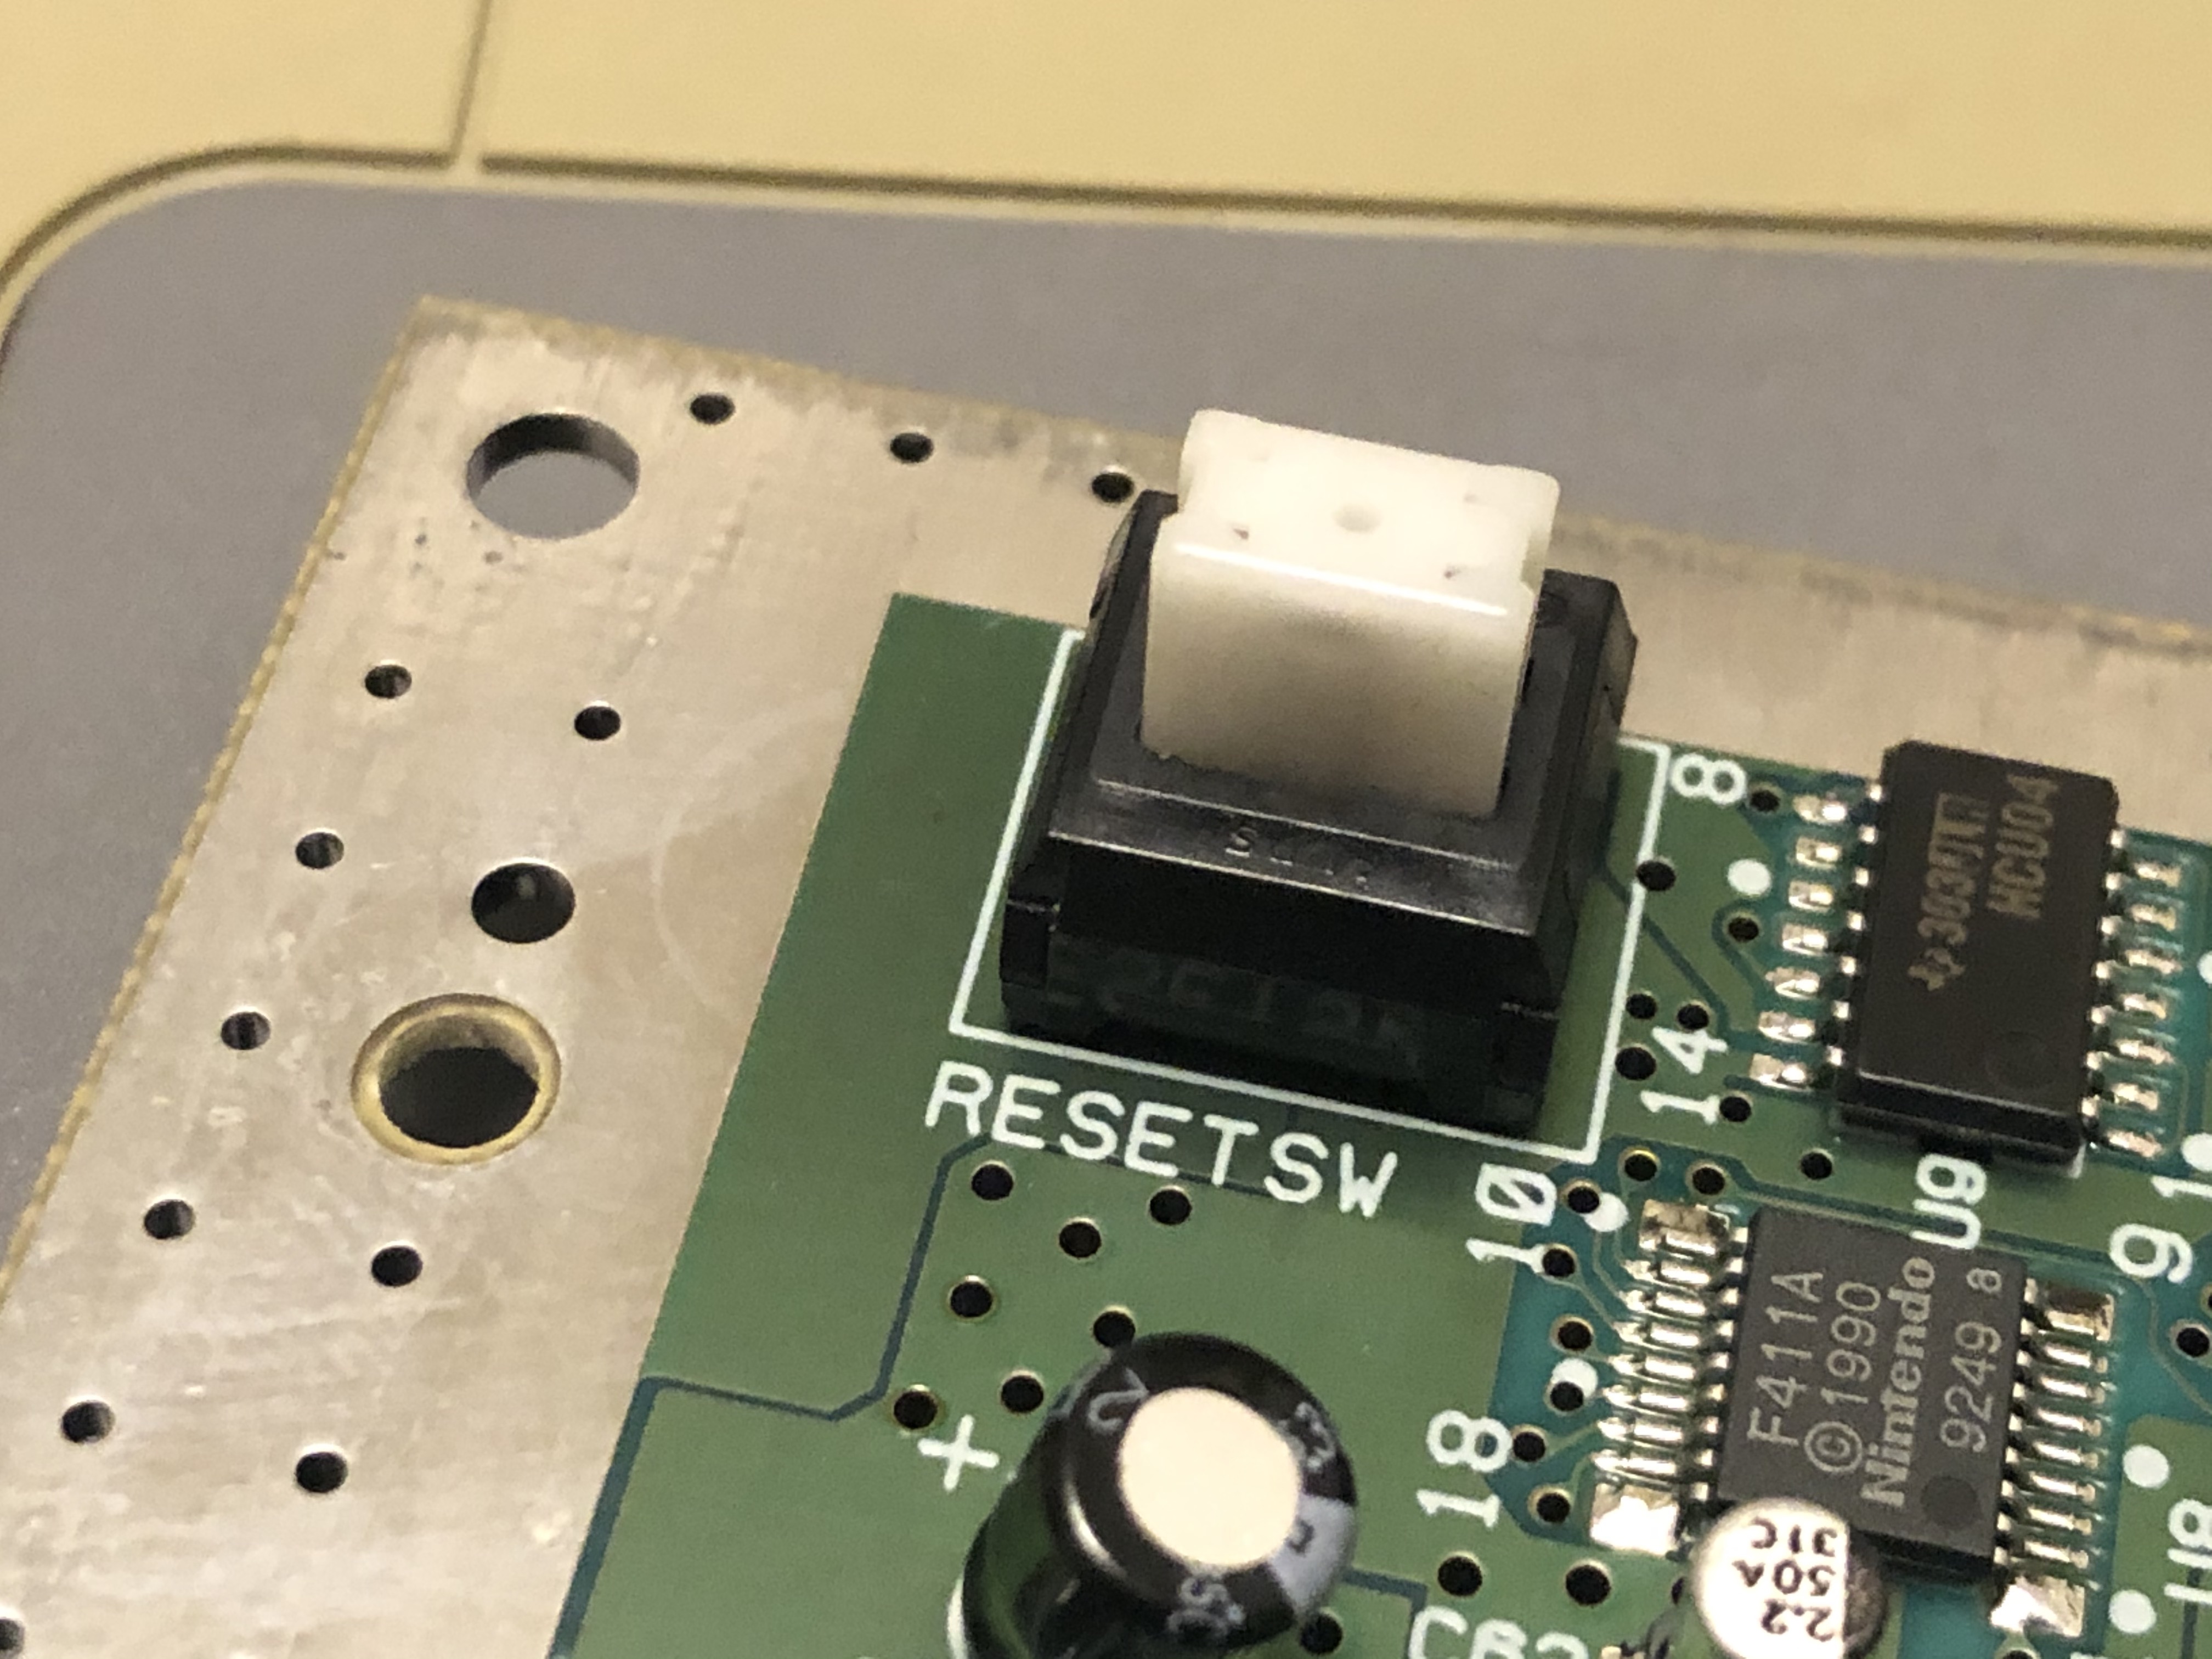

For safety reasons, I also inserted a 10 kOhm resistor in-between the wires to the GPIO. This will protect the Pi if the GPIO mode for the pin is accidentally set to output. An open switch without a resistor basically short circuit the GPIO if it is setup wrong.

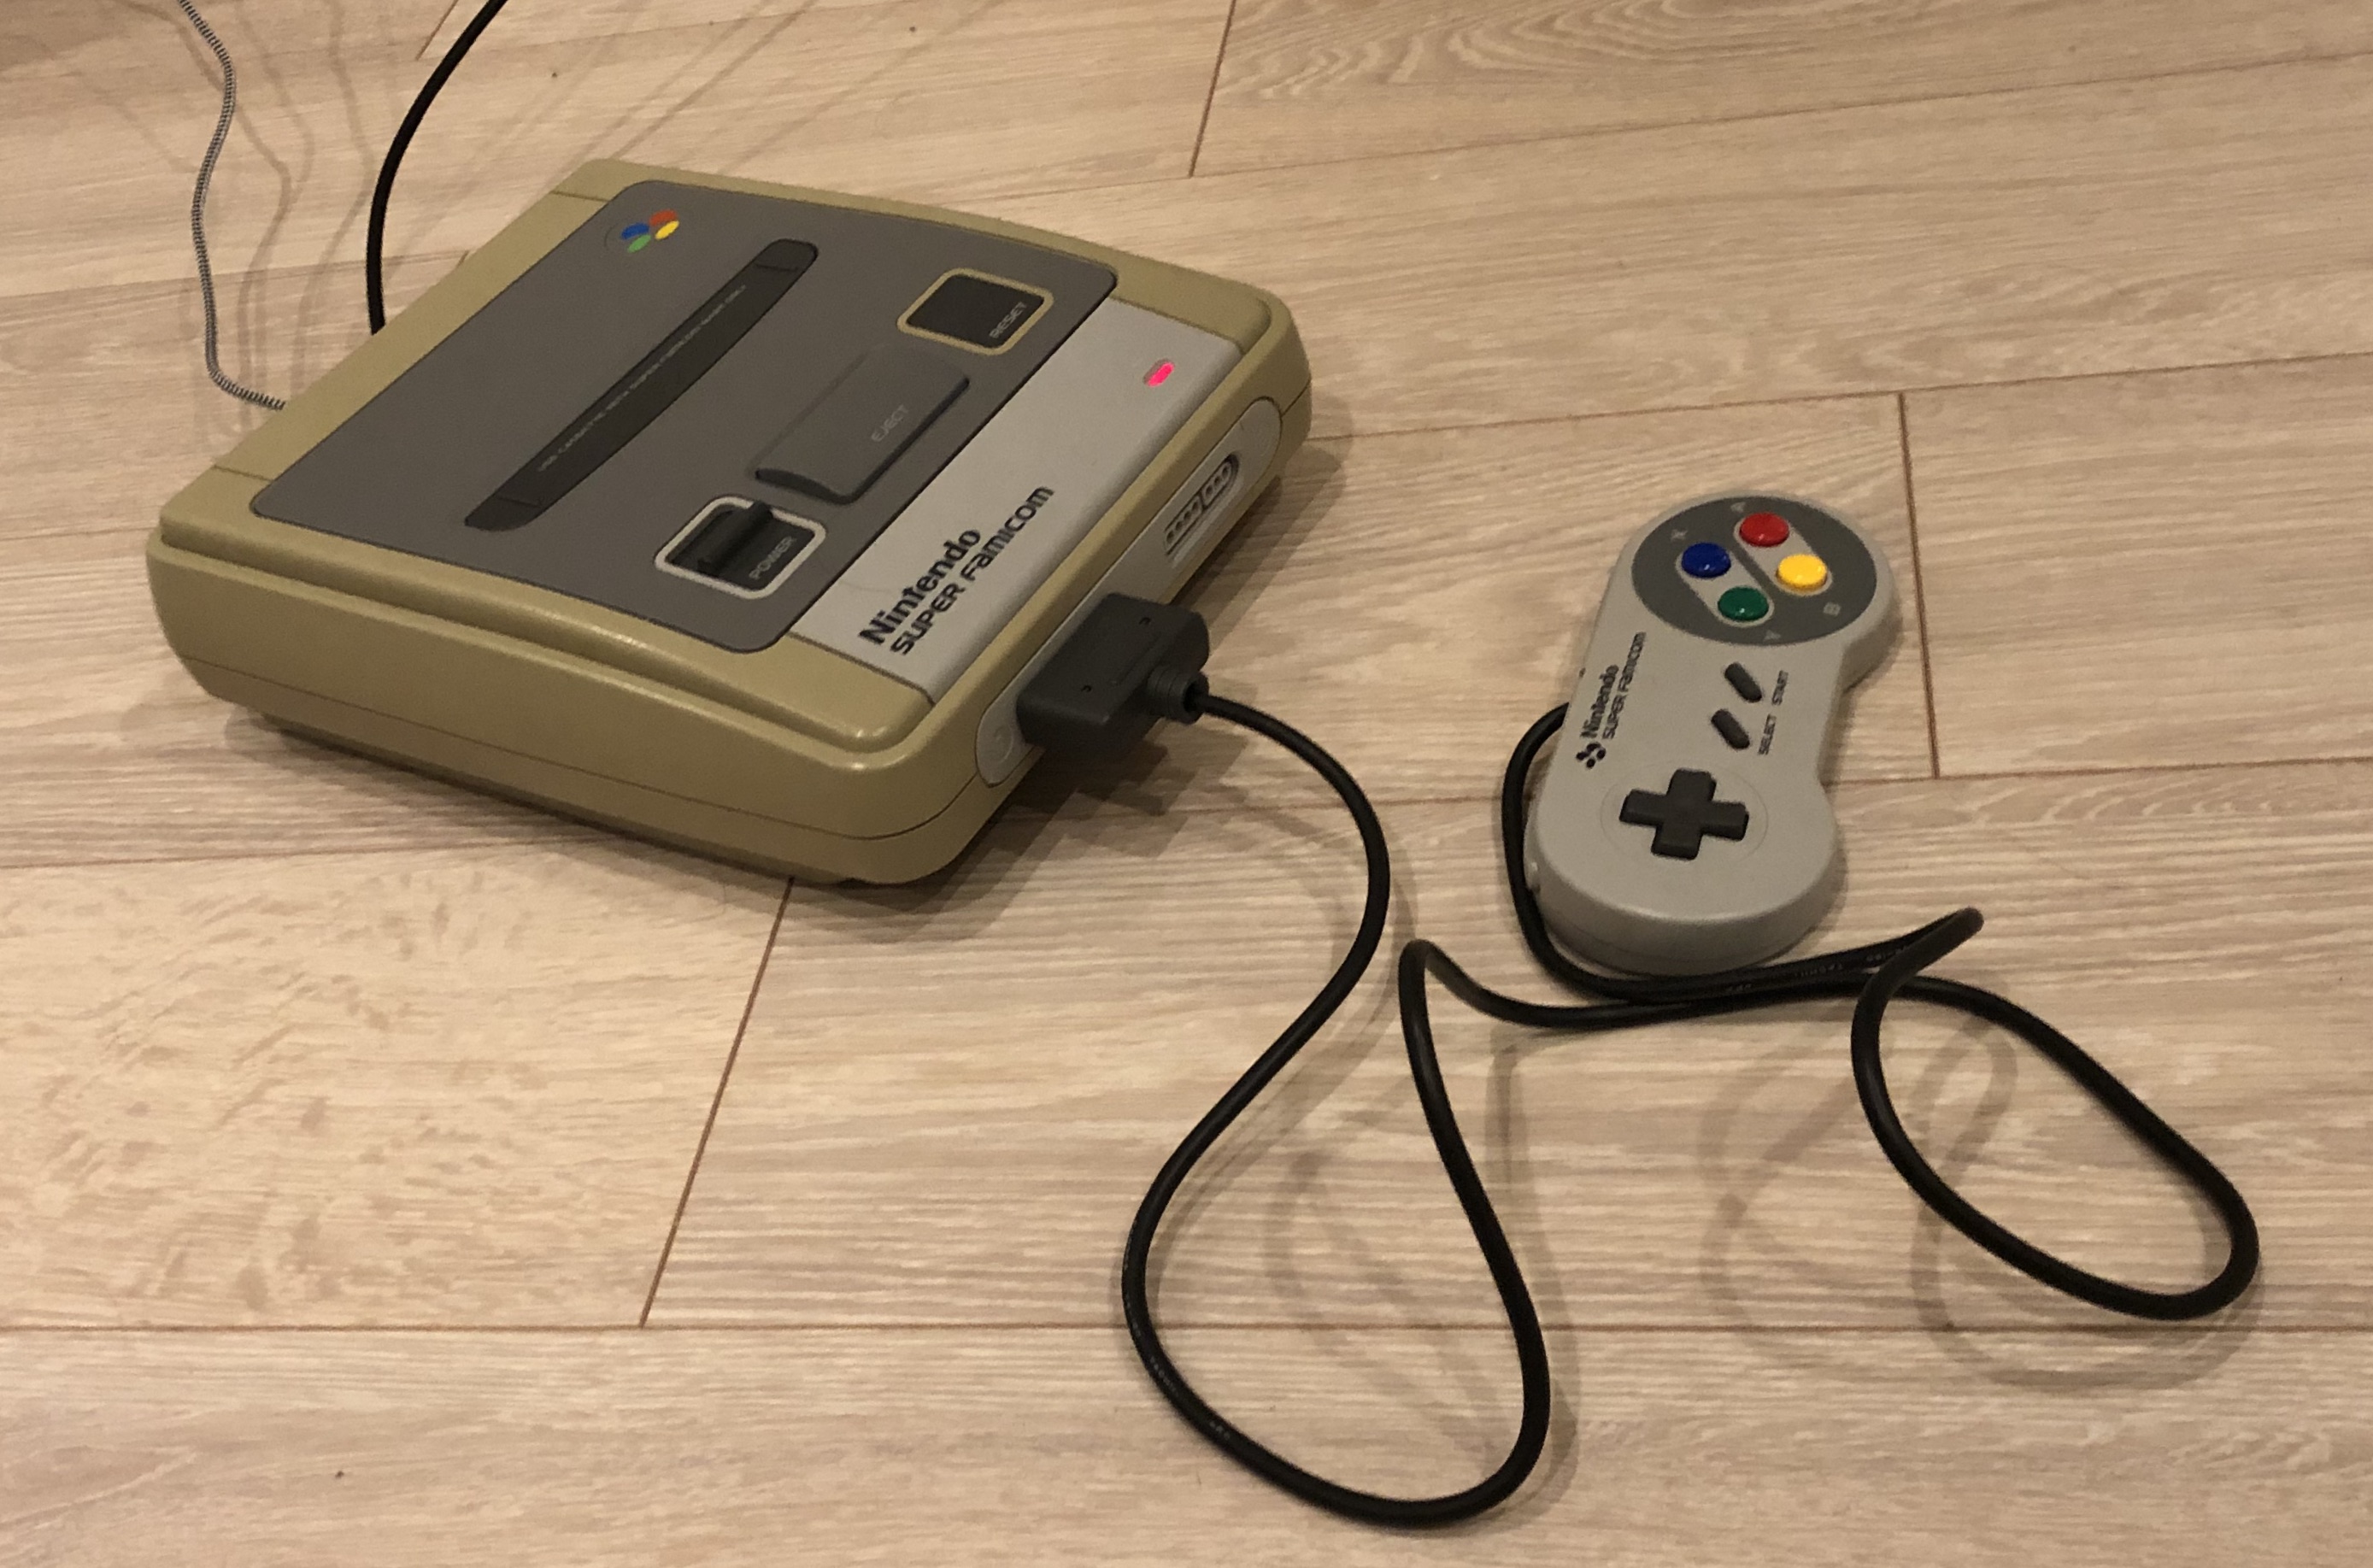
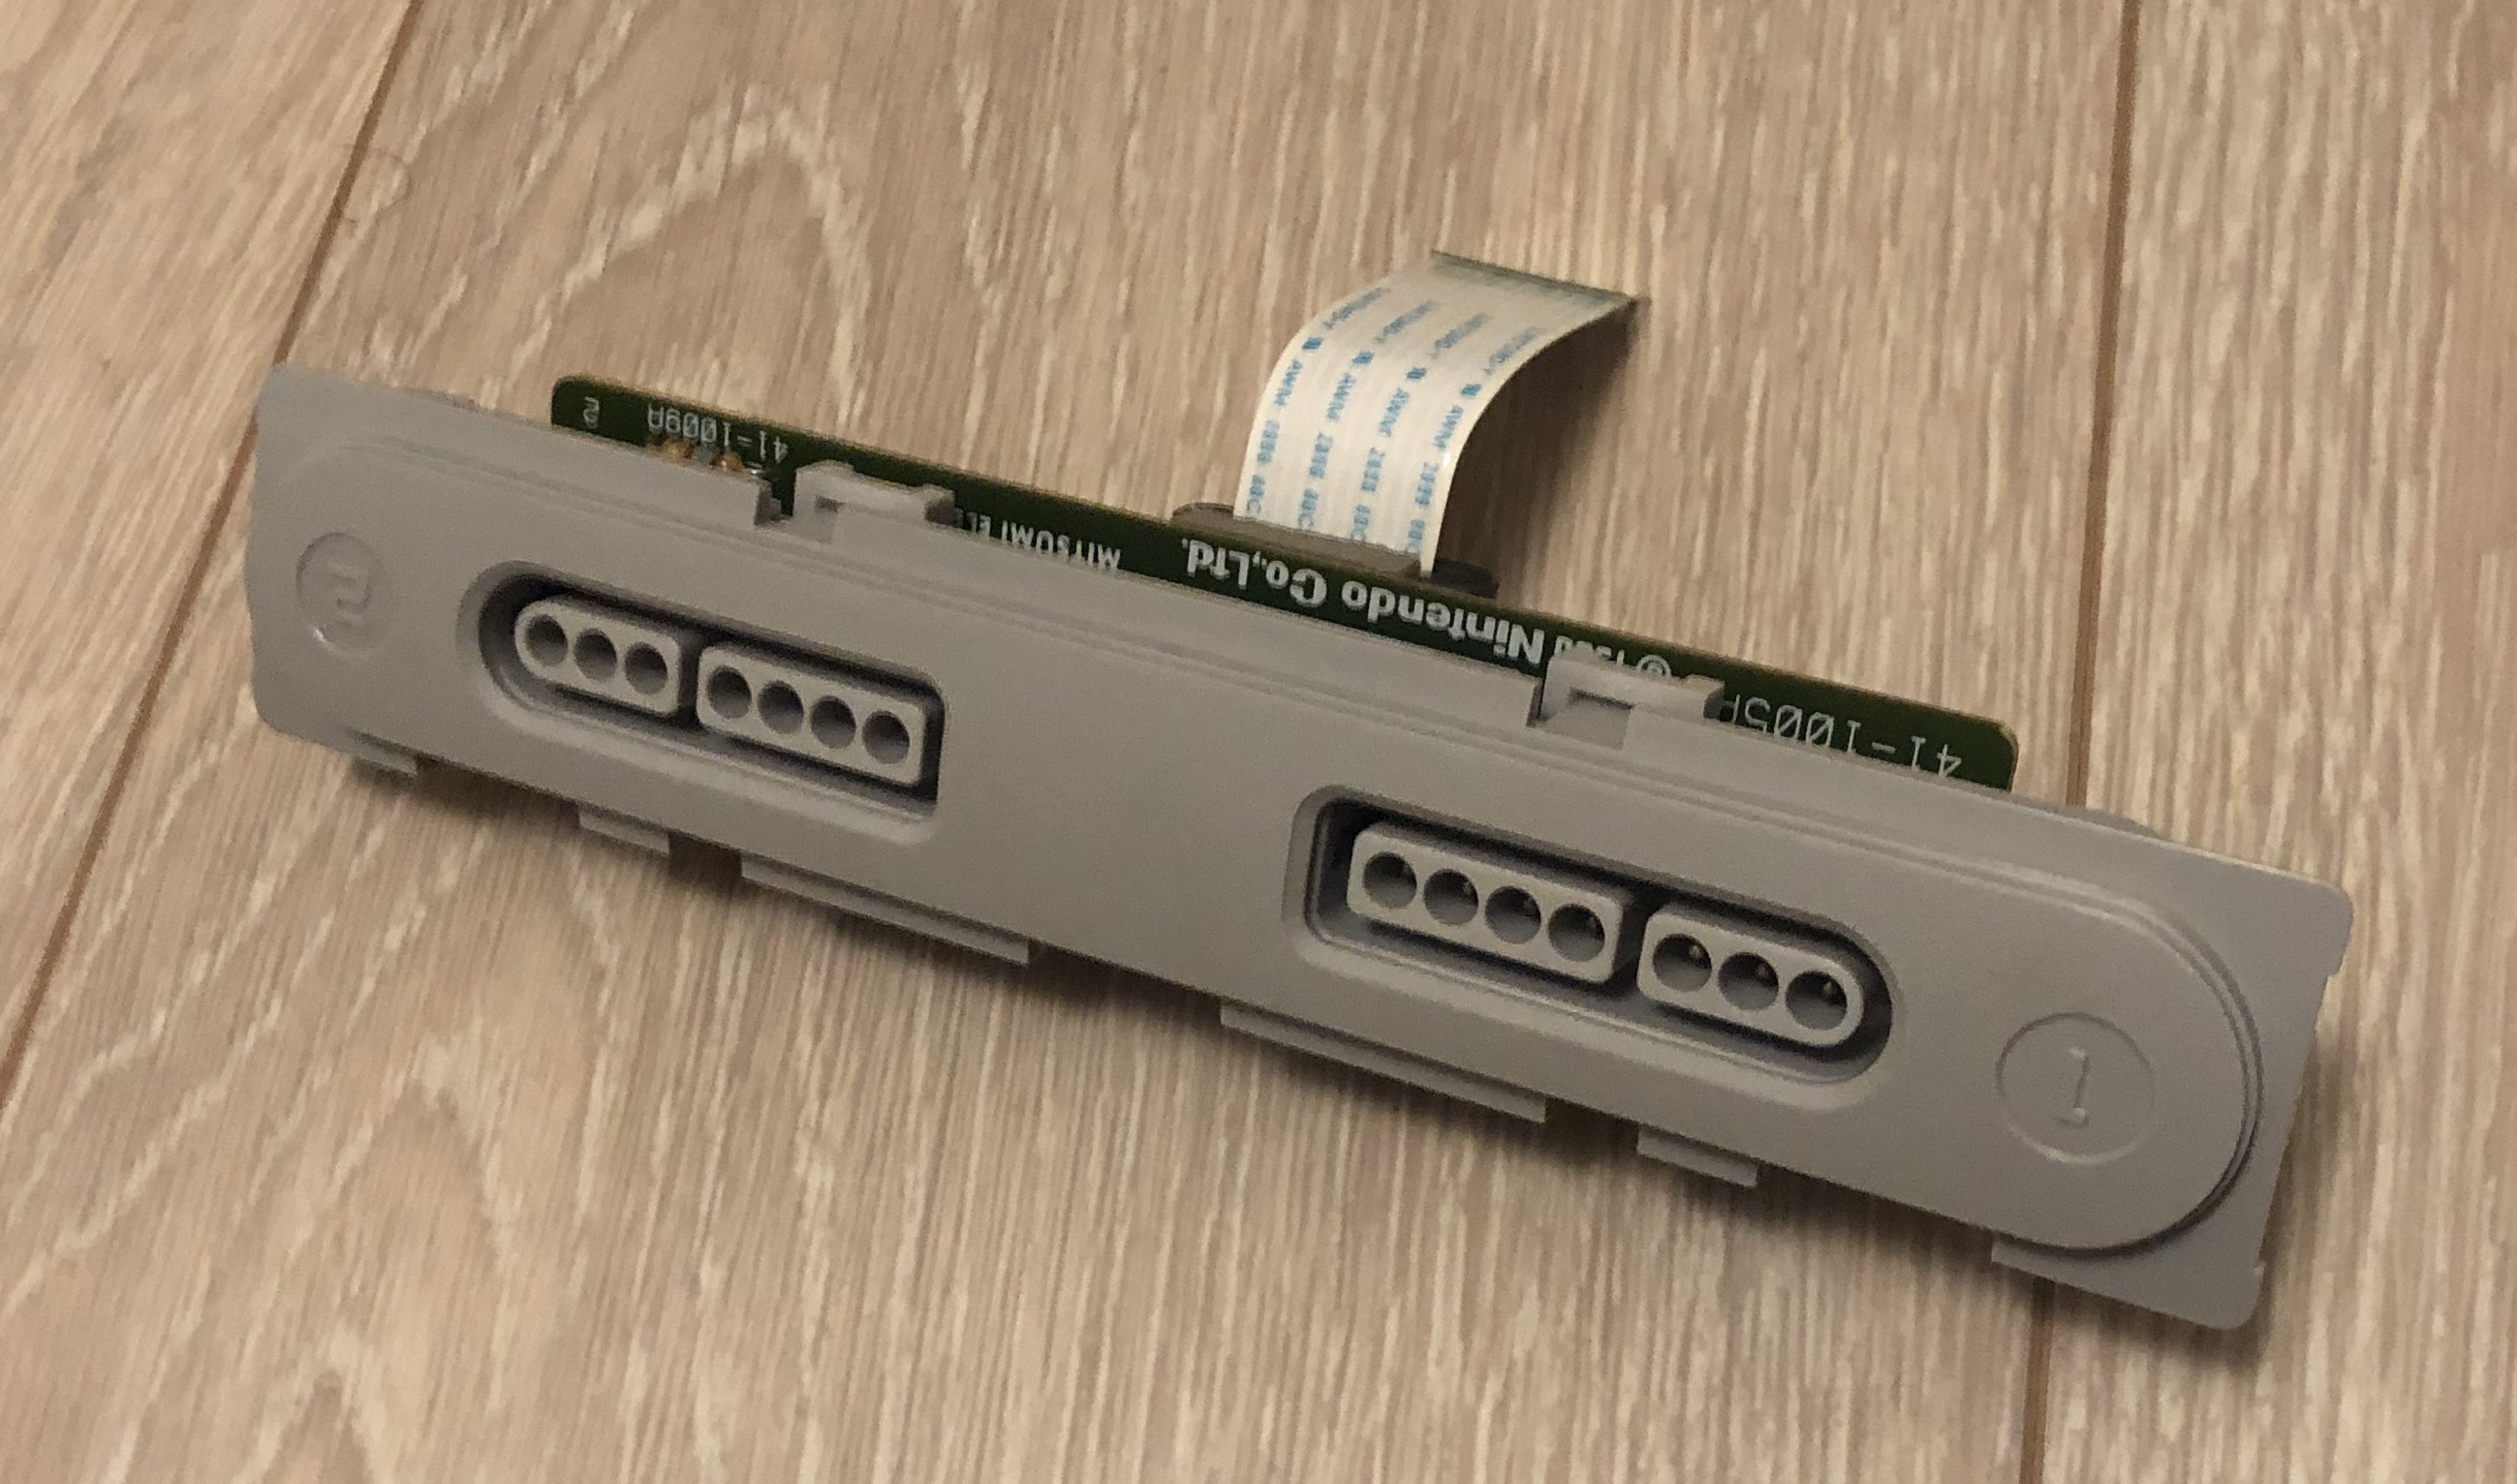
Connecting the Original Controllers and Using the Power LED
For the perfect retro feeling I also want to reuse the original controllers. The low level specification of the controllers was already reverse engineered a long time ago.
The specification mentions 5 Volt but the controllers also work well on the 3 Volts that are used by the Raspberry Pi’s GPIO. All that has to be done is to power up the board and connect the clock/latch/data contacts with the Pi to communicate.
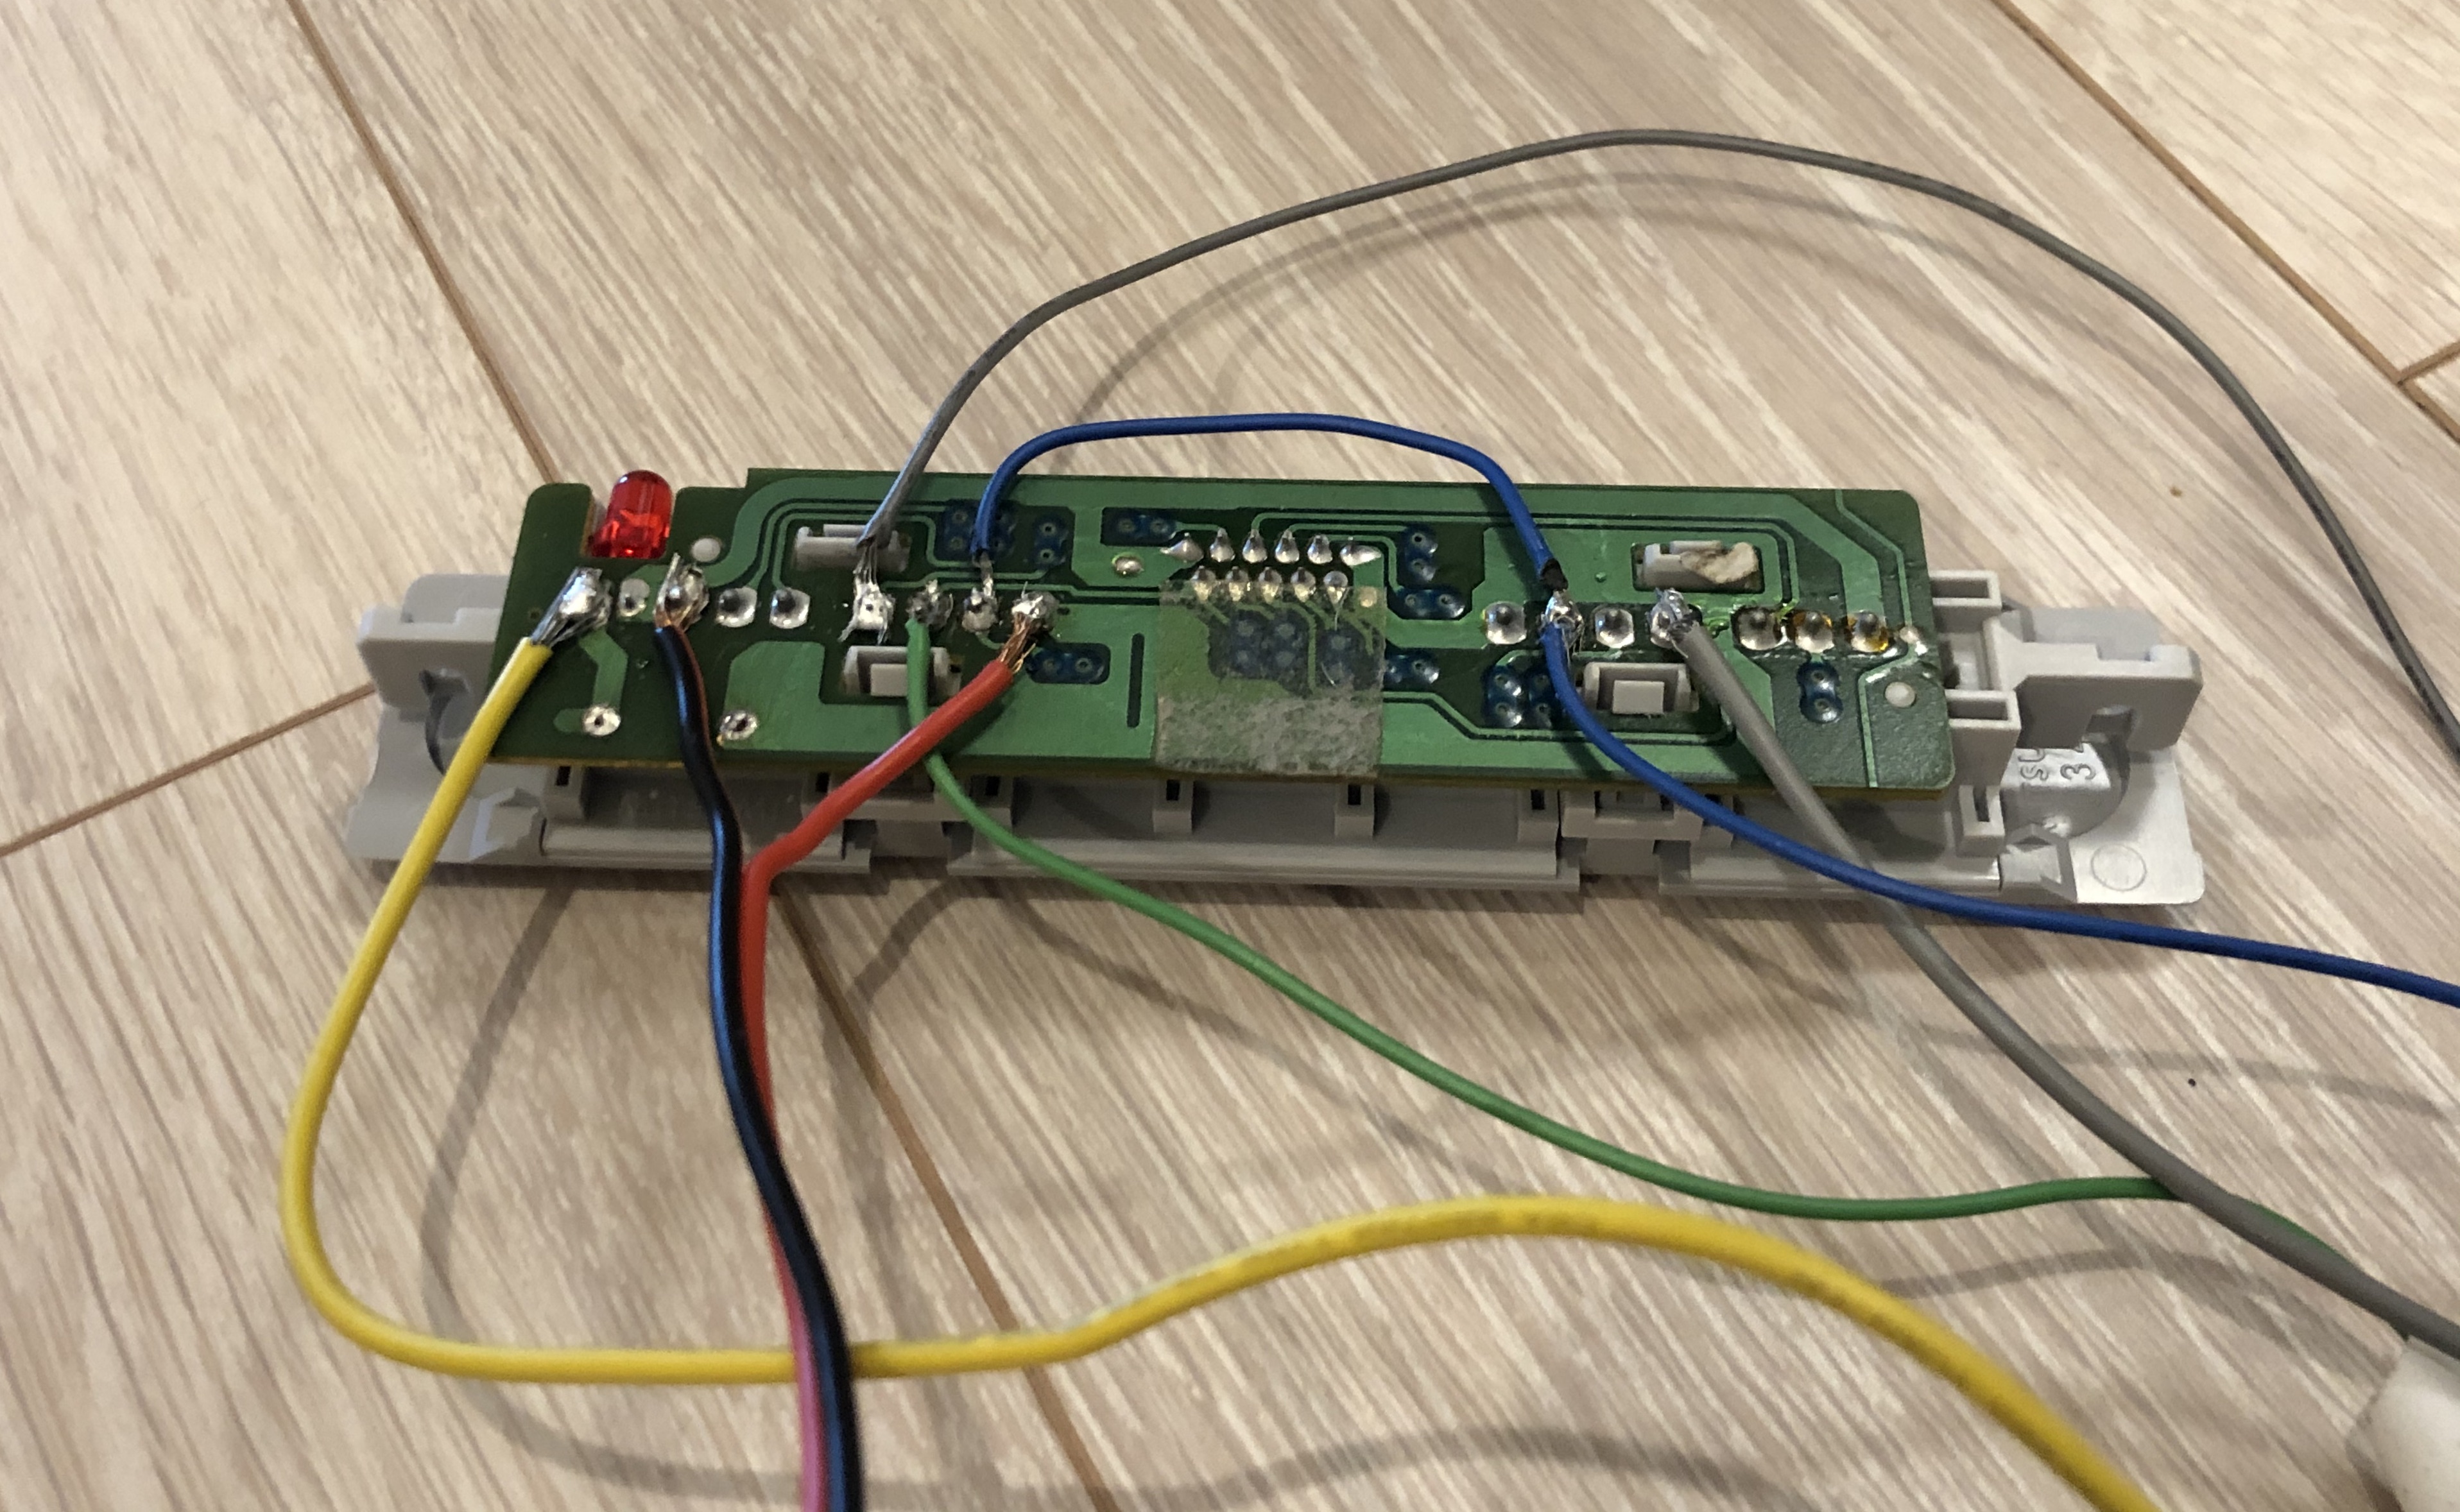
As you can see, the power indicating LED is also connected to this board. It is hardwired to the power supply but I want to do something cooler with it. By soldering the resistor off the board, I could separate it from its power supply. Then I connected it to another GPIO pin with a more appropriate resistor (for 3 Volt).
Now I have full control over the LED. For example I can make it pulsate - something that you will never see with the original Super Nintendo.

Software
This is also a no brainer. RetroPie is well known and makes it easy to set up the emulator on top of Raspbian OS. There is really no need here to further explain the installation, just check out their homepage.
The driver for the controllers has already been developed by petrockblog. There is no need to get my own hands dirty. It works fine even without the recommended adapter as long as the GPIO pins are connected correctly.
Unfortunately the Super Nintendo controllers require polling and this cannot be avoided.
Additionally, the driver runs in userspace and checking with top shows a constant 2-3% CPU load due to the polling nature and many spin locks inside the drivers code.
I felt tempted to redevelop the driver as a kernel module to gain a performance boost from kernel space delays.
Well, even with this overhead the emulator is running fast enough, so this is an optimization project for another time.
Conclusion
Now I have it! A Super Nintendo that can run every game that was ever developed (as long as I have the ROM). It would have been just too good to be true to have such a system in my childhood, but better late than never.
The Super Nintendo was such a popular system that everything was fully reverse engineered already and I didn’t have to do anything too crazy myself to realize this project. Furthermore, modern hardware tends to follow unified standards more than back in the days. I had success connecting a used PS3 controller as well as the switch joycons via Bluetooth.